


A full bathroom remodel moves through a predictable chain of phases, and each one depends on the last. Here's what happens at every stage, who handles it and where inspections usually fit in.
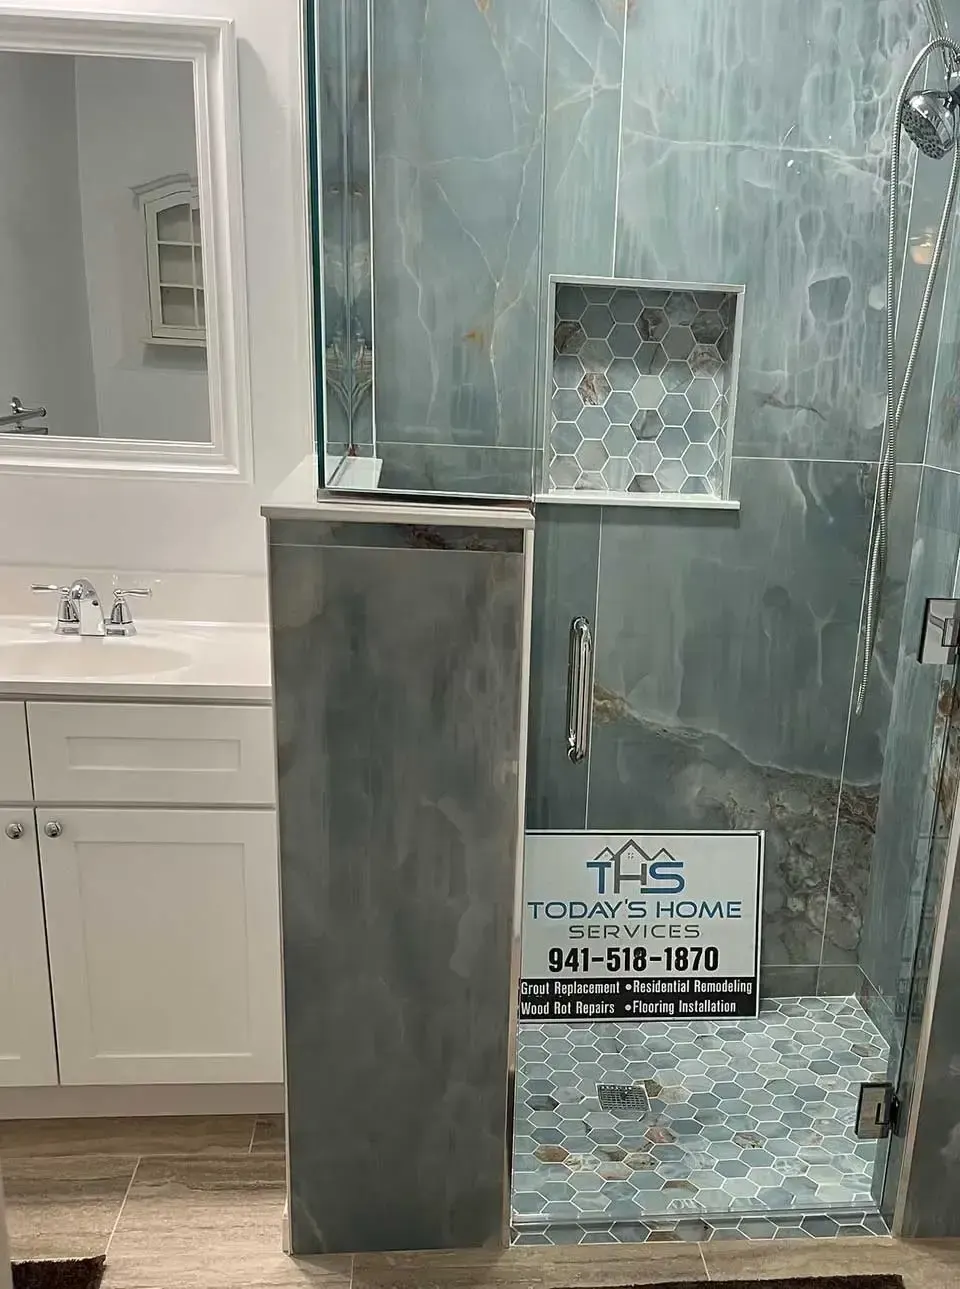
Key takeaways
- A full remodel runs in a fixed order: design, selections, permits, demolition, rough-in, waterproofing, tile, fixtures, final walkthrough.
- The shower valve and other in-wall items must be chosen before demolition, because they're buried before tile.
- Demolition is when hidden damage shows up; a good estimate explains up front how it will be handled.
- Permitted work is typically inspected at rough-in, before walls close, and again at the end.
A finished bathroom hides most of the work that went into it. The bathroom remodel process is really a stack of layers built in a fixed order: structure, then plumbing and wiring, then waterproofing, then surfaces, then fixtures. Skip a layer or put one out of order and the problem usually shows up months later as a cracked tile, a musty smell or a leak in the room below.
This walkthrough follows a typical full remodel, the kind where the room goes down to the studs. A lighter renovation (a vanity swap, new fixtures, fresh paint) skips many of these phases. If you're not sure which one you need, our explainer on renovation versus remodel covers the difference, and if you'd rather spread the work out, read whether a bathroom can be remodeled in stages.
The process at a glance
| Phase | What happens | Decisions you make | Inspection? |
|---|---|---|---|
| 1. Consultation and design | Measuring, scope, estimate | Layout, tub or shower, budget | No |
| 2. Selections | Materials chosen and ordered | Tile, vanity, valve, fixtures, glass | No |
| 3. Permits and protection | Permit pulled, work area protected | Condo approvals, schedule | Permit issued |
| 4. Demolition | Old finishes removed | How to handle hidden damage | No |
| 5. Framing and rough-in | Blocking, plumbing, wiring, fan duct | Niche and valve heights | Rough inspection, if permitted |
| 6. Backer and waterproofing | Board, slope, membrane, flood test | None, if planned earlier | Sometimes a pan inspection |
| 7. Tile and grout | Setting, grouting, sealing | Layout confirmation | No |
| 8. Fixtures and finishes | Vanity, toilet, trim, lights, glass | Accessory placement | No |
| 9. Final walkthrough | Inspection, punch list, cleanup | Sign-off | Final inspection, if permitted |
Before work starts
A little preparation makes the first day smoother:
- clear the bathroom and the path to it, including the medicine cabinet and under-sink items
- plan where the household will shower if this is your only full bath
- decide where pets will stay while doors are open
- confirm parking for the crew and a spot for a debris container if needed
- in a condo, give the association and neighbors notice as required
Our checklist on how to prepare for a bathroom remodel goes further.
Phase 1: Consultation, measuring and design
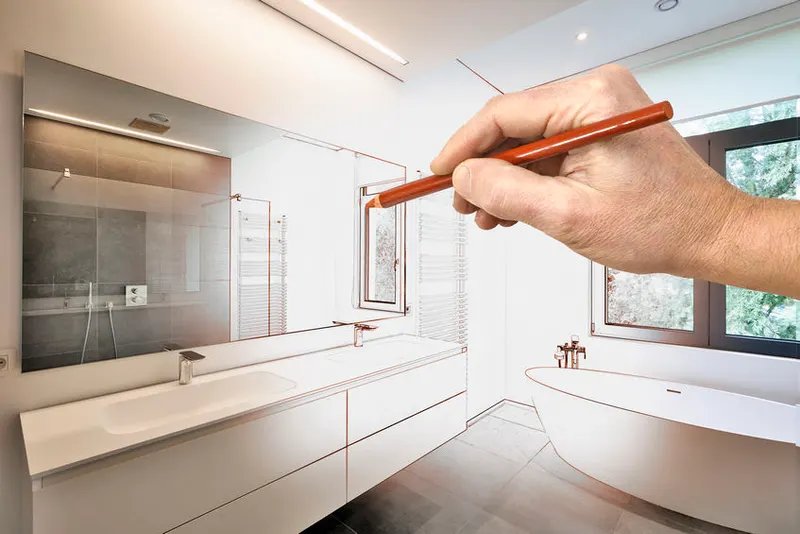
Everything starts with a visit to the actual room. The remodeler measures, checks the condition of the floor and walls, looks at where the drain and supply lines run and asks how you use the space. This is where the big decisions get framed: keep the tub or convert to a shower, keep the layout or move things, one sink or two.
You bring priorities and a budget comfort zone; the contractor brings options, explains trade-offs and produces a written scope of work and an estimate. Read it closely, and use our list of questions to ask a bathroom remodeler to check it. It should name the waterproofing method, say whether drains or walls move, and explain how hidden damage will be handled.
Phase 2: Selections and ordering
Before demolition, most materials should be chosen and ideally on order: tile, grout color, vanity, top, shower valve, fixtures, glass and fan. Long-lead items such as custom glass or certain vanities can stall a job if they are picked late.
One selection matters more than people expect: the shower valve. It sits inside the wall and must be installed before tile, so the trim style and function need to be settled early. Our article on shower valves explains why.
Phase 3: Permits and protection
Where the scope involves plumbing, electrical or structural changes, a permit is typically pulled through the city or county building department. Condo buildings often add their own layer: association approval, a certificate of insurance and limited work hours. Our answer on remodeling a condo bathroom covers what associations usually ask for.
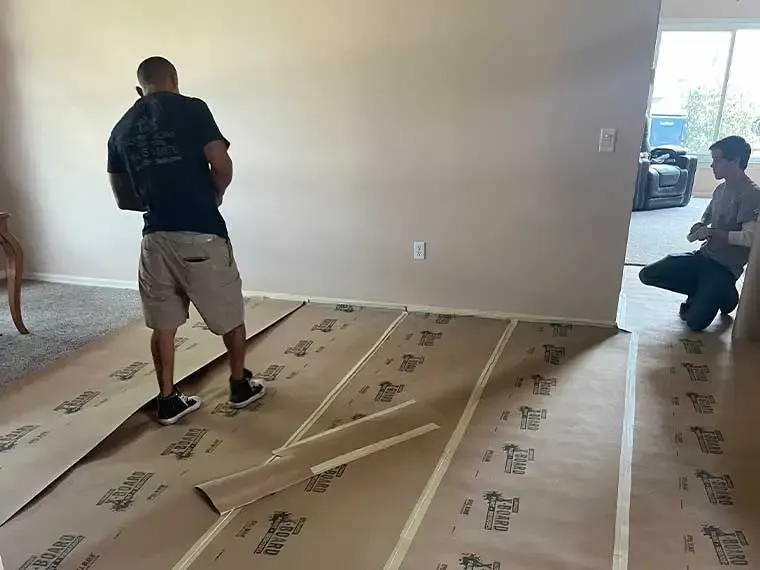
On day one of physical work, the crew protects the path from the door to the bathroom with floor coverings and sets up dust control.
Phase 4: Demolition
Old tile, backer, fixtures and sometimes drywall come out. This is loud, dusty and quick compared with everything that follows.
It's also when the hidden condition of the room finally shows. Once the walls are open, the crew can see soft subfloor, rotted framing, failed pans, mold or old repairs. Our article on why estimates change after demolition explains how these findings are usually handled, and water damage behind shower walls describes what that damage looks like.
Phase 5: Framing and rough-in
With the room open, the bones get corrected:
- Framing. Walls are straightened, niches are framed and solid blocking is added wherever grab bars, a glass door or heavy accessories will mount.
- Plumbing rough-in. Supply lines, the shower valve body and drain locations are set. In a slab home, moving a drain means cutting the concrete, covered in bathroom plumbing on a slab.
- Electrical rough-in. Boxes for lighting, GFCI-protected receptacles and the exhaust fan are placed and wired. Ducting for the fan is run to the exterior.
Rough inspection. If the job is permitted, this is commonly when an inspector checks the work before anything gets covered.
Phase 6: Backer board and waterproofing
Cement board or a foam board system goes on the walls, the shower floor is sloped (roughly a quarter inch per foot toward the drain is the common target) and the waterproofing goes on. Depending on the system, that may be a membrane over the board, a pre-sloped foam tray or a traditional mortar bed with a liner. Our shower waterproofing systems explainer compares them.
Tip: Ask to see the waterproofing before tile starts. Many remodelers flood test the shower floor for a period of time to confirm it holds water. Photos of this phase are worth keeping.
Phase 7: Tile and grout
This is the slowest-looking phase because tile is set one piece at a time, with layout, cuts around niches and valves, and curing time for the thinset before grout. Large-format tile needs a flat substrate, so some floors get leveling work first. Grouting, cleanup of haze and any sealing follow; our guide to grout types explains which grout goes where.
Phase 8: Fixtures, cabinets and finishes
The room starts to look finished quickly now:
- vanity and top installed, sink and faucet connected
- toilet set on a new wax ring or seal
- shower trim, head and handheld mounted
- lighting, mirror, fan grille and accessories hung
- paint, trim and caulk at changes of plane
Glass is often the last major item, for reasons explained in shower glass types.
Phase 9: Final inspection and walkthrough
If permitted, a final inspection closes out the job. Then comes your walkthrough: run every fixture, check for drips, look at caulk lines and grout, test the fan and GFCI. Anything that needs attention goes on a short punch list. A good crew also removes debris and cleans up before calling the room done.
How long does each phase take?
It varies too much to promise. A straightforward swap can often be finished in a few days, while a full remodel typically takes several weeks, depending on scope, hidden conditions, inspection scheduling and material lead times. Our answer to how long a bathroom remodel takes goes into the variables, and can I use my bathroom during a remodel covers living through it.
To see how this sequence maps onto your room, including which phases need a permit at your address, ask our bathroom remodeling team for a free consultation.
Before step one, it helps to settle budget, priorities and how long you plan to stay; our checklist of factors to consider before remodeling walks through those decisions.
More Understanding Articles
Frequently Asked Questions
Do I need a permit for a bathroom remodel?
Do I need to be home during the remodel?
Can the process be split into stages?
What happens if I want to change something mid-project?
Keep Exploring
-
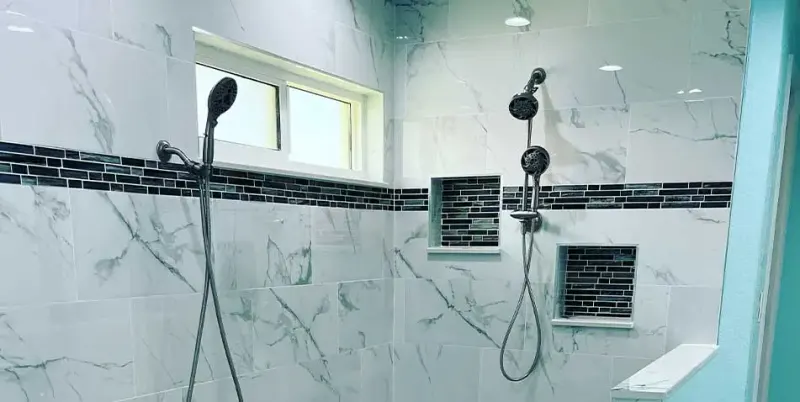
Bathroom Remodeling in Bradenton, Sarasota & the Suncoast
From a tired hall bath to a complete primary-suite rebuild, we plan, demo, waterproof, tile and finish bathrooms across Manatee, Sarasota, Charlotte and south Hillsborough counties,…
-
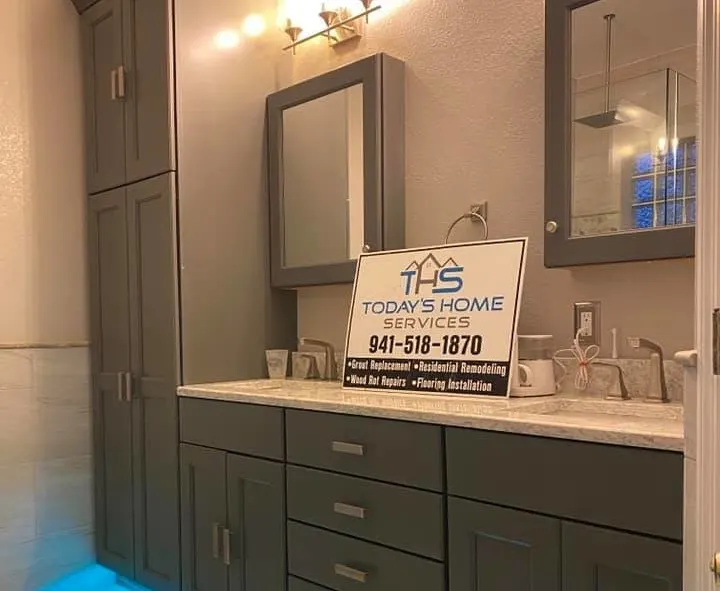 Questions
How Long Does a Bathroom Remodel Take?
Scope sets the clock. A fixture swap can wrap up in days, while a gut remodel usually runs several weeks, and the details hidden behind your…
-
 Why
Why Bathroom Remodel Estimates Change After Demolition
An estimate is written from what a contractor can see. Demolition reveals what nobody could see. How that gap is handled, on paper and in conversation,…
-
 Questions
How to Prepare for a Bathroom Remodel
Good preparation is mostly about decisions, not boxes. Finalize selections, clear the room and the path to it, sort out a backup bathroom and agree on…
-
 Why
Why Bathroom Remodels Take Time (Longer Than You'd Expect)
It's one small room, so why does it take weeks? Because a bathroom packs nearly every trade into a few square feet, and much of the…
-
 Questions
Can a Bathroom Be Remodeled in Stages?
Yes. Bathroom work can be done in stages to fit your budget and schedule. The key is planning the whole room first, then doing the work…