


Good tile work is mostly invisible: flat floors, straight lines, tight even grout joints and no hollow spots. We spend the time on layout and surface prep that keeps your tile looking that way for years.
Key takeaways
- Most tile failures start underneath, so we check the slab for flatness and treat cracks before setting anything.
- Larger tiles and wood-look planks need a flatter floor than small tiles do.
- Porcelain absorbs very little water; natural stone and cement tile need sealing and gentle cleaners.
- A dry layout before setting is the easiest moment to change pattern direction or avoid slivers at doorways.
Most failed tile jobs weren't ruined by the tile. They were ruined by what happened before the first piece was set: a floor that wasn't flat, a crack nobody treated, a layout that left slivers at the doorway. Our approach to tile installation starts underneath the surface, because tile only looks sharp years later when the prep was done right.
Where we install tile
Tile and stone work almost anywhere in a home. Common projects include:
- Floors in kitchens, living areas, hallways and entries
- Bathrooms, including floors, shower walls and tub surrounds (see our dedicated bathroom tile page)
- Kitchen backsplashes, from simple subway tile to mosaics
- Laundry and mudrooms, where water resistance matters
- Patios, lanais and entryways, using exterior-rated tile
- Accent walls and fireplace surrounds
Choosing your tile
We help you sort through materials, colors and finishes during the free consultation. This table gives the short version.
| Tile | Water absorption | Best rooms | Maintenance |
|---|---|---|---|
| Porcelain | Very low | Floors, showers, patios | Low; seal cement grout |
| Ceramic | Higher than porcelain | Walls, backsplashes, lighter-use floors | Low |
| Wood-look porcelain | Very low | Living areas, kitchens, bedrooms | Low; needs a very flat floor |
| Cement | Porous | Accent floors, feature walls | Seal and use gentle cleaners |
| Natural stone | Varies by stone | Floors, showers, vanities | Seal periodically; avoid acids |
Porcelain
Dense and low in water absorption, porcelain handles heavy traffic, wet areas and outdoor use. It comes in a huge range of looks, including convincing stone, concrete and wood patterns.
Ceramic
Ceramic tile is lighter and easier to cut, which makes it a natural fit for walls and backsplashes. It remains a classic, affordable choice for floors in lighter-use rooms.
Wood-look tile
Long plank-shaped porcelain gives you the warmth of wood with the water resistance of tile, which is why it's so popular in Florida homes. Planks need a very flat floor and a staggered layout that avoids lippage at the ends.
Cement tile
Patterned cement tiles add bold color and graphic designs. They are durable underfoot but porous, so they need sealing and gentle cleaners.
Natural stone
Marble, travertine and slate bring one-of-a-kind character. Most stone needs sealing, and marble and travertine are acid-sensitive, so vinegar, citrus and many bathroom cleaners will etch them.
If you want a deeper comparison of materials for wet rooms, our guide to bathroom tile types goes through each one.
How a tile installation comes together
1. Measuring and layout planning
We measure each room and plan the layout before cutting anything. The goal is to center the pattern on the room's focal point, avoid thin slivers at doorways and walls, and line up grout joints with cabinets, tubs and thresholds where possible. On wood-look and large tiles we also plan the offset so planks don't create a visible staircase pattern.
2. Surface preparation
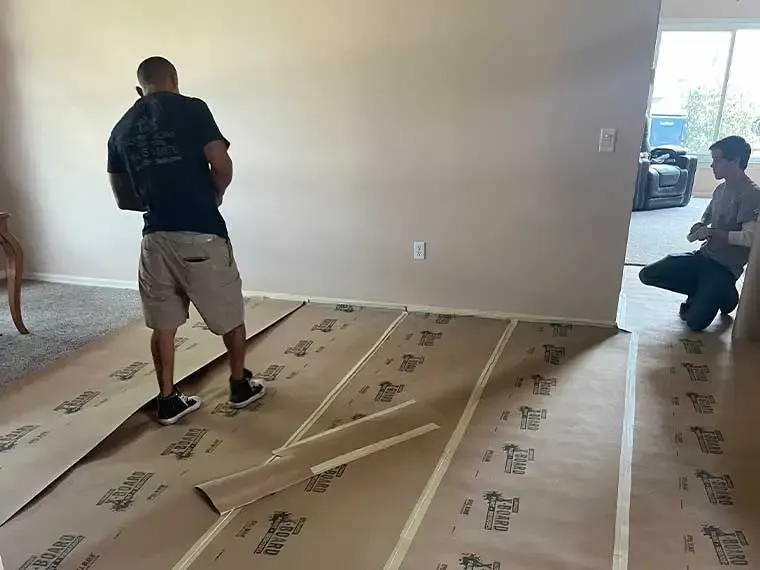
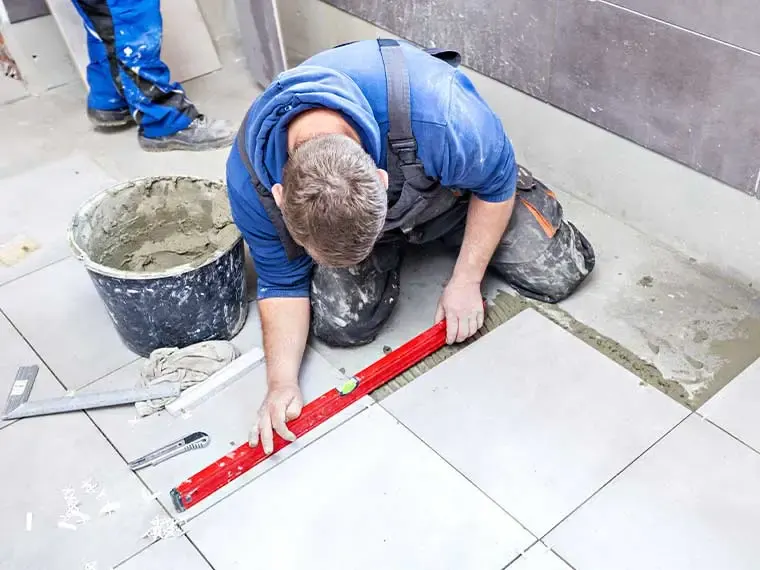
This is the step that matters most. Most Gulf Coast homes are built on concrete slabs, which are durable but rarely perfectly flat. We remove old flooring and adhesive, check the slab with a straightedge, and grind high spots or fill low spots as needed. Hairline cracks get a crack isolation membrane. On walls, wet areas get cement board or a waterproofing system, not plain drywall.
Flatness matters even more as tiles get bigger. Our article on why large-format tile needs a flat floor explains why a dip you can't feel underfoot can still show up at every tile edge.
3. Setting the tile
Tiles are set in the correct thinset mortar for the tile type and location, with trowel size matched to the tile. We back-butter larger tiles and check coverage so there are no hollow voids under corners, which are a common source of cracked tiles later. Perimeter gaps and movement joints are left where the installation calls for them, so the floor can expand and contract with temperature without tenting or cracking.
4. Grouting and finishing
After the thinset cures, we grout the joints, clean off haze, and caulk changes of plane such as wall-to-floor and tub-to-tile joints with a flexible sealant. Then we install or reinstall baseboards and transitions. If your grout needs sealing, we tell you when and how. Choosing between cement, urethane and epoxy grout is a decision worth making with care, and our guide to grout types lays out the tradeoffs.
Tip: Ask to see a dry layout of a few tiles on the floor before setting begins. It's the easiest moment to change pattern direction or shift the starting line.
What affects the cost
We quote each tile job after measuring. The main cost drivers are:
- Square footage and layout: diagonal, herringbone and mosaic patterns take more cutting than a straight lay.
- Tile size and type: large-format and natural stone need more handling, flatter prep and sometimes special mortar.
- Removal: tearing out old tile, terrazzo coverings or stubborn adhesive adds labor.
- Slab prep: grinding, leveling and crack membranes depend on the floor you have.
- Wet areas and outdoor work: waterproofing, slope and exterior-rated materials add steps.
- Trim and transitions: baseboards, thresholds and edge profiles.
For a broader view of how remodeling budgets come together, see our guide on what drives remodeling costs.
Gulf Coast details we watch for
- Humidity and temperature swings. Large tiled floors and sunny rooms move. Movement joints at perimeters and in large fields help prevent tenting and cracked grout.
- Sand and salt. Entry tile near the beach takes abrasive wear, so we steer you toward harder-wearing finishes in those spots.
- Outdoor drainage. Patio and lanai tile must shed rain quickly; the slope beneath has to be right before tile goes down.
- Older homes. In established Bradenton and Palmetto neighborhoods, older homes can hide old tile, terrazzo or adhesive layers that need attention before new tile can go down.
After the install
New tile needs very little: a pH-neutral cleaner, mats at entries, felt pads under furniture, and resealing cement grout periodically. If cracks or loose grout appear, deal with them early. When the grout eventually needs a refresh, our tile and grout cleaning service can bring it back without replacing the floor. If you're comparing tile with other floor coverings, see our overview of flooring installation.
Tile installation around the Suncoast
We install tile for homeowners and commercial property owners in Manatee, Sarasota and Charlotte counties and in south Hillsborough County, including Bradenton, Lakewood Ranch, Venice, Port Charlotte and Riverview. Visit our service area page to see the full list.
Tell us which rooms you're tiling, and we'll schedule a free visit to measure and talk through your options.
What Clients Say
“Today's Home Services did an outstanding job re-grouting my 18 year old bathroom walls and floor. My bathroom looks brand new. The two men who performed the work were friendly, hard-working and extremely professional. It is refreshing to have work done that is hassle free. I intend to use them to re-stain the tile flooring in my home as well.”
— Renee Huntley
“Great workers! Great job- They focus on detail, they are clean/they clean up after every day! Thank you for such Great Remodel of our master bath!”
— Virginia Carmichael
Tile Installation Across the Suncoast
We serve homeowners and property owners in these counties and communities:
Learn More Before You Start
Tile Installation FAQs
Can you install tile directly over my existing tile?
What size tile works best for a Florida slab floor?
My slab has a crack. Can you still tile over it?
Do you install tile outdoors on patios and lanais?
How long before I can walk on new tile?
Keep Exploring
-
 Bathroom Service
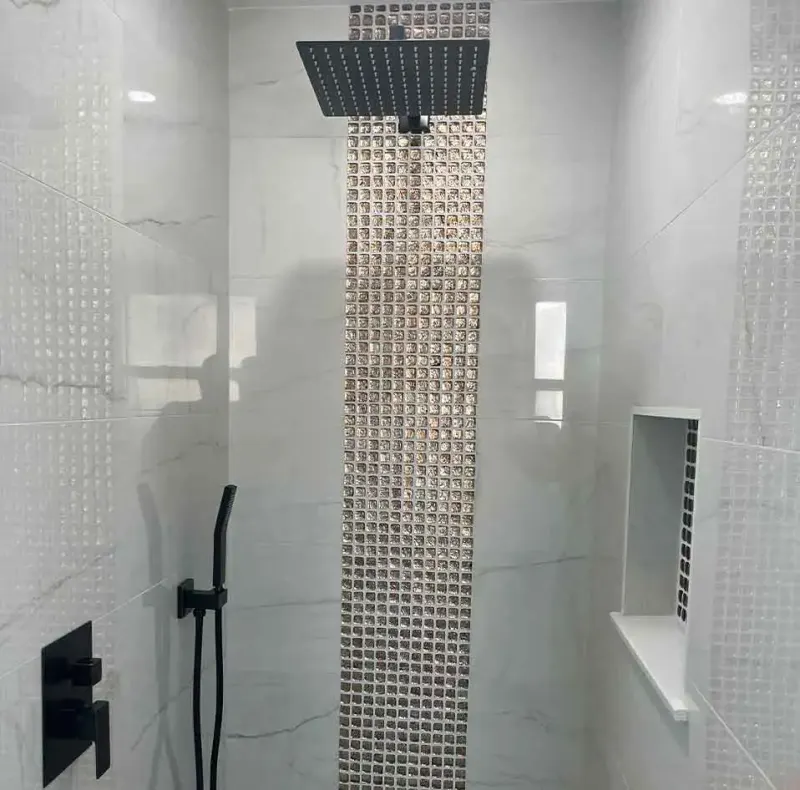
Bathroom Wall & Shower Tile Installation
Good tile looks effortless because the hard thinking happened before the first piece went up. We plan every wall, edge and niche so your shower and…
-
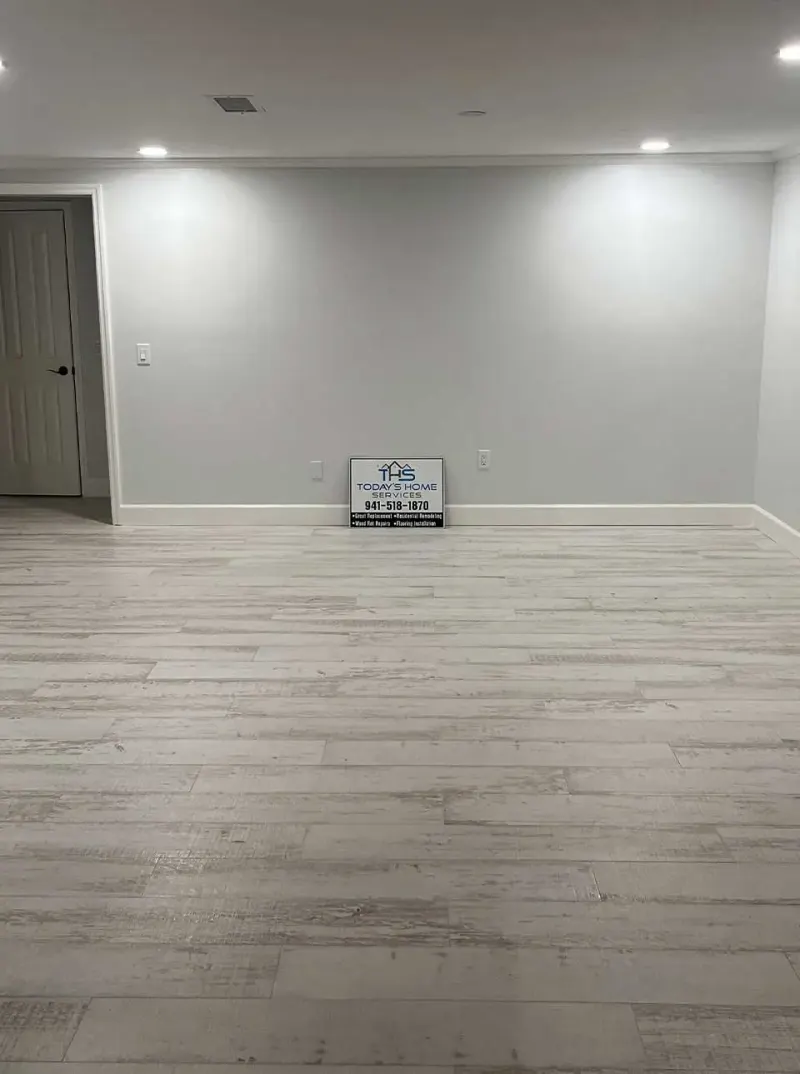
Flooring Installation
Tile, luxury vinyl plank, wood or epoxy: each one shines in some rooms and struggles in others. We help you match the floor to the room,…
-
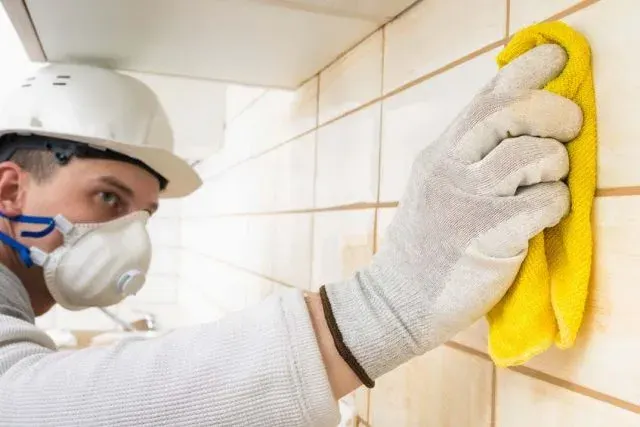
Tile and Grout Cleaning
Dingy grout lines make even good tile look tired. We assess your floors, showers and backsplashes, clean them with methods matched to the material, seal what…
-
 Why
Why Large-Format Tile Needs a Flat Floor
Big tiles look calm and seamless, but they're unforgiving. A dip that a 12-inch tile would ride over becomes an uneven edge you can see and…
-
 Understanding
Bathroom Tile Types and Where Each One Belongs
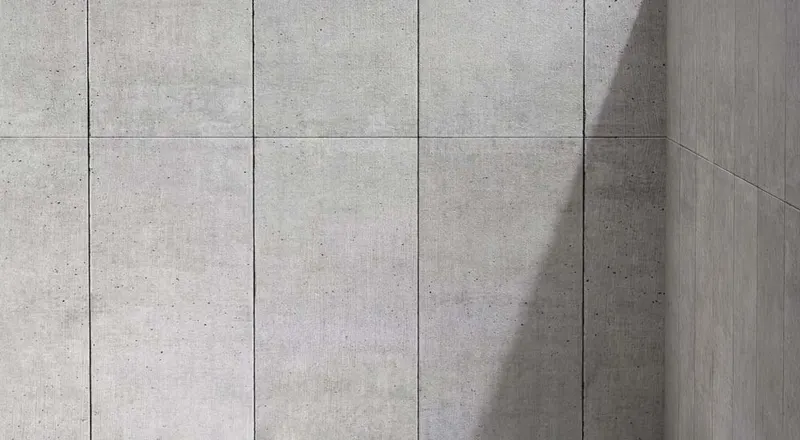
Tile is sold by look, but it should be chosen by behavior. How much water a tile absorbs, how hard its surface is and how it…
-

Areas We Serve Along the Suncoast
From our home base in Bradenton, our crew works across four counties, from the South Shore of Hillsborough down to Punta Gorda. Find your city below,…