


Tired of patching dings and repainting scuffed drywall? Shiplap, tongue-and-groove and other wood paneling add texture and character to walls and ceilings, and they hold up to everyday bumps better than painted sheetrock.
Key takeaways
- Shiplap leaves a visible reveal between boards; tongue-and-groove interlocks for a tighter surface with hidden nails.
- MDF is stable in dry rooms but swells when wet; PVC or cedar suit damp spaces outside the shower.
- Every board is fastened into studs or joists, and painted shiplap is primed and painted before it goes up.
- Outlets need box extenders and ceiling fixtures are planned in so they sit flush with the new surface.
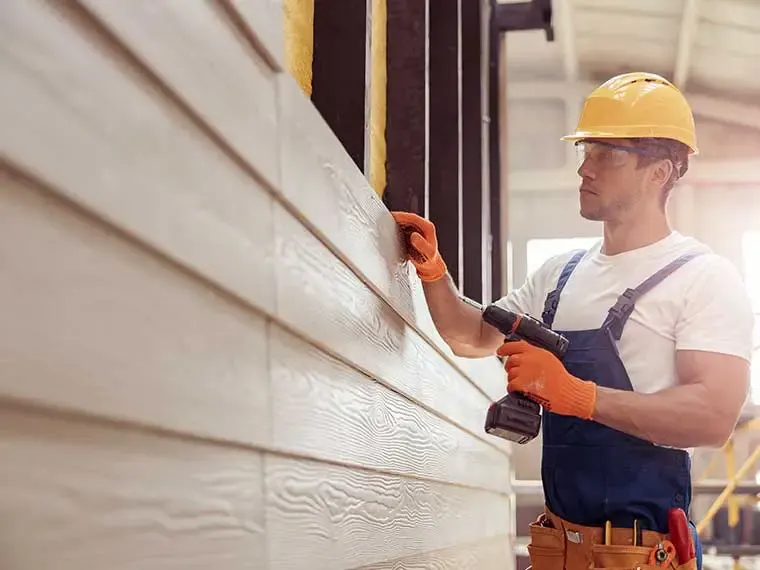
Painted drywall is cheap to hang and easy to damage. Furniture scuffs it, doorknobs punch holes in it, and in a busy household it seems to need repainting constantly. Shiplap installation and other wood paneling give you a wall that takes everyday abuse in stride and adds texture, shadow lines and warmth that flat paint can't. We install shiplap, tongue-and-groove, beadboard and board-and-batten on accent walls, entire rooms and ceilings.
Shiplap vs. tongue-and-groove: how they differ
Both are boards that join along their long edges, but the joint is shaped differently, and that changes how the finished wall looks.
Shiplap
Each board has a notch, called a rabbet, cut along the top of one face and the bottom of the opposite face. The boards overlap where the notches meet, leaving a small, consistent gap or "reveal" between them. That shadow line is the look most people picture: relaxed, clean and a natural fit for coastal homes.
Tongue-and-groove
One edge has a protruding ridge (the tongue) and the other has a channel (the groove). The tongue slides into the neighboring board's groove. Nails can be driven at an angle through the tongue so they're hidden by the next board. The surface is tighter and more continuous, sometimes with a small V-groove or bead detail at the joint.
| Shiplap | Tongue-and-groove | |
|---|---|---|
| Joint | Overlapping rabbets | Interlocking tongue and groove |
| Look | Distinct reveal between boards | Tight seams, optional V or bead |
| Fasteners | Face-nailed, usually filled and painted | Can be hidden in the tongue |
| Popular uses | Accent walls, coastal and farmhouse rooms | Ceilings, wainscoting, traditional rooms |
| Cleaning | Dust can settle in the reveals | Smoother, fewer ledges |
Other paneling styles
- Beadboard wainscoting along the lower part of a wall, often capped with a chair rail
- Board-and-batten, with vertical battens over a flat panel for a craftsman look
- Vertical shiplap to make low ceilings feel taller
- Paneled ceilings in living rooms, bedrooms and covered outdoor areas using exterior-rated material
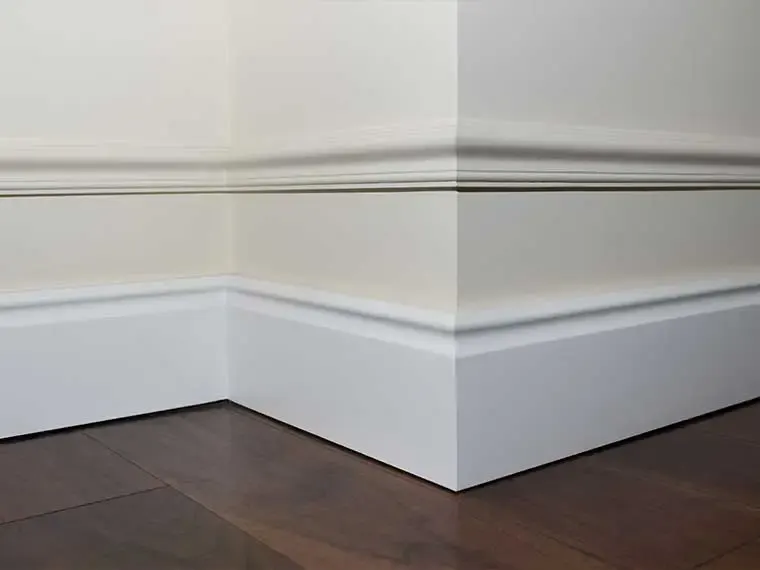
Paneling pairs naturally with our trim and moulding installation work, since the edges, corners and openings all need finishing trim.
Choosing materials for a humid climate
Wood moves as it takes on and gives off moisture, and in Florida the air is humid most of the year. That affects material choice:
- Solid pine and other softwoods have real grain and can be stained or painted, but they move the most. Proper acclimation and correct board spacing matter.
- MDF shiplap is very stable, smooth and affordable for painted walls in dry rooms, but it can swell if it gets wet, so we don't use it in damp spaces.
- Cedar and similar species hold up better in moisture-prone spots and look beautiful left natural or stained.
- PVC paneling resembles painted wood and doesn't absorb water, which makes it a strong option for laundry rooms, bathrooms (outside the shower) and covered lanais.
How we install shiplap and paneling
1. Planning the layout
We measure the wall or ceiling and plan board direction, where seams will fall, and how the first and last boards will land so you don't end up with a thin sliver at the ceiling or a corner. We mark studs or ceiling joists so every board gets fastened into framing.
2. Acclimating and prefinishing
Boards sit in the home with the air conditioning running before installation, as the product instructions call for. For painted shiplap, we prime and paint before it goes up where we can so the reveals and edges are coated. Otherwise, raw wood can show in the gaps as boards shift seasonally.
3. Preparing outlets and fixtures
Outlets and switches need box extenders so the devices sit flush with the new surface. On ceilings, we plan around lights, fans, vents and smoke detectors.
4. Fastening and spacing
Boards go up level, using spacers to keep shiplap reveals consistent. Shiplap is face-nailed into framing; tongue-and-groove is usually blind-nailed through the tongue. We leave small gaps at corners and edges so the wood can move, then hide them with trim.
5. Finishing
Nail holes get filled, edges get caulked where appropriate, and the final coat of paint or clear finish goes on. Our interior painting crew can handle the rest of the room at the same time.
Tip: Use a satin or semi-gloss paint on painted shiplap. Flatter sheens hold dust in the reveals and are harder to wipe clean.
Where paneling works best
- Entryways and mudrooms: board-and-batten or beadboard takes the bumps from bags, shoes and dog leashes, and hooks mount straight into the boards.
- Bedroom ceilings and accent walls: tongue-and-groove overhead or horizontal shiplap behind the bed adds warmth without clutter.
- Fireplace and TV walls: vertical shiplap draws the eye up and frames the focal point.
- Kitchens and laundry rooms: shiplap on an island, a breakfast nook wall or a range-hood surround adds character during a kitchen remodel; PVC suits the laundry room.
- Bathrooms: paneling behind a vanity or toilet suits coastal bathroom ideas, with a moisture-tolerant material, durable paint and good ventilation. Our guide to bathroom exhaust fan sizing explains how to keep humidity in check.
- Dining rooms and hallways: beadboard wainscoting capped with a chair rail; our trim and moulding work finishes the top edge.
What affects the cost
We price paneling after we measure. These are the main factors:
- Material: MDF, pine, cedar and PVC differ in price and in where they can go.
- Square footage and height: ceilings and tall vaulted walls need staging and more labor.
- Openings and devices: windows, doors, outlets, switches and ceiling fixtures each need cutting and extenders.
- Finish: priming and painting before install, or stain and clear coat.
- Trim: corners, caps, chair rails and casings around openings.
- Wall prep: removing old paneling, wallpaper or damaged drywall first.
Our guide on what drives remodeling costs explains how scope and materials shape any project.
Paneling projects across the region
We install shiplap and wood paneling throughout Manatee, Sarasota and Charlotte counties and in south Hillsborough County. Visit our service area page to confirm your community. Tell us which wall or ceiling you have in mind, and we'll set up a free consultation to talk about materials and layout.
What Clients Say
“These guys are awesome they've worked at both my houses and they've also taken care of my parents home as well. These are the only ones I would refer to anyone”
— Wedding Stuff
“Shawn is a great leader who runs a qualified team of hard working individuals who know there stuff. Had done work for me multiple times and over exceeds my expectations everytime”
— Christopher Grieco
Wood Paneling Across the Suncoast
We serve homeowners and property owners in these counties and communities:
Wood Paneling FAQs
Which is better, shiplap or tongue-and-groove?
Can wood paneling go on the ceiling?
Can I put shiplap in a bathroom?
How long will wood paneling last?
Does paneling installation take a long time?
Keep Exploring
-
Interior Trim and Moulding Installation
Trim is the detail that makes a room look finished. Baseboards, casings, crown and wall mouldings hide uneven edges, protect walls and give plain rooms real…
-
Interior and Exterior Painting
A good paint job is mostly preparation: protecting your belongings, repairing surfaces, priming where needed and choosing a paint that suits the room or the weather.…
-
Kitchen Remodeling
From swapping tired cabinets and counters to reworking the whole room, we plan your kitchen around how you actually cook, store and gather, then build it…
-
 Ideas
Coastal Bathroom Ideas Built for the Real Coast
A coastal bathroom in a magazine and a coastal bathroom three blocks from the Gulf face different conditions. These ideas capture the relaxed beach look with…
-
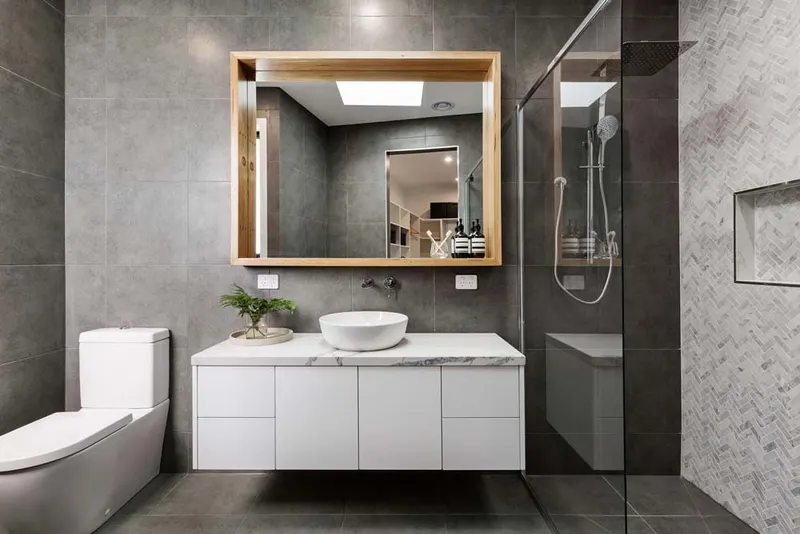 Understanding
Bathroom Exhaust Fan Sizing: How Much Air You Need
In a humid climate, the exhaust fan is the bathroom's most underrated part. Sizing it right, ducting it correctly and running it long enough decide whether…
-

Areas We Serve Along the Suncoast
From our home base in Bradenton, our crew works across four counties, from the South Shore of Hillsborough down to Punta Gorda. Find your city below,…