


Trim is the detail that makes a room look finished. Baseboards, casings, crown and wall mouldings hide uneven edges, protect walls and give plain rooms real character, as long as the joints are tight and the lines run true.
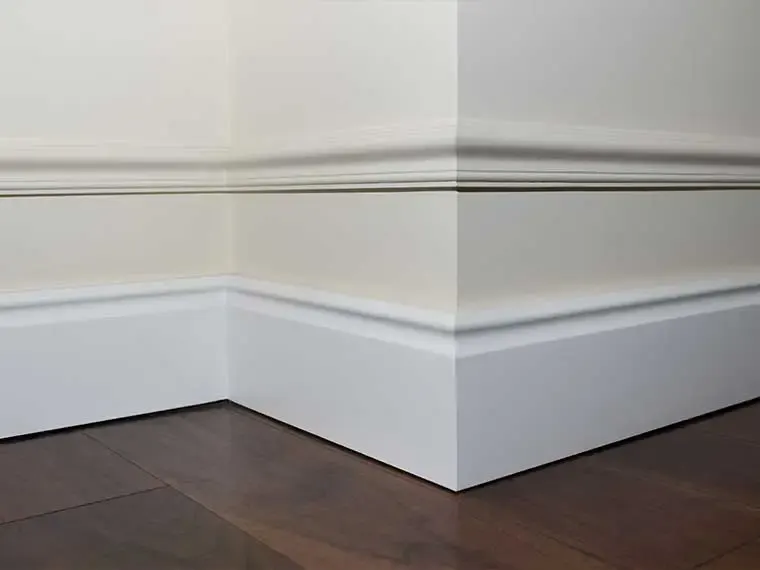
Key takeaways
- Coped inside corners stay tight through seasonal movement, where plain miters tend to open up.
- On block walls with furring strips, trim has to be fastened into framing, not just tacked into drywall.
- PVC trim belongs in bathrooms and laundry rooms; MDF stays in rooms that stay dry.
- New floors are the natural time for new baseboards, since they cover the expansion gap and the height change.
The right trim can transform a room without major construction. A builder-grade house with skinny baseboards and plain flat casings feels unfinished next to the same house with substantial base, proper door casings and crown at the ceiling. We handle trim and moulding installation in homes and businesses throughout the Suncoast, as a standalone project or as the finishing step on flooring, painting and remodeling work, with a focus on tight joints, straight lines and upfront, fair pricing.
Trim vs. moulding, in plain terms
Trim is the general term for materials that finish the edges of a room: around doors and windows, where walls meet floors, and where walls meet ceilings. Moulding is a specific kind of trim with a shaped, decorative profile, usually more elaborate than standard trim. Intricate crown moulding that softens the line between walls and ceiling is the classic example.
The four places trim goes
1. Around openings: casing
Casing frames doors, windows and passthroughs. It covers the gap between the jamb and the wall and sets the architectural tone of a room. Flat craftsman casing with a head cap, classic colonial profiles, and simple modern square-edge casings all change the feel of a space. We install casing as part of door and window updates and remodels.
2. Along the floor: baseboards
Baseboards cover the joint between wall and floor, hide uneven drywall edges, and take the hits from vacuums, chairs and pet bowls. Shoe moulding or quarter round can be added at the bottom to cover the expansion gap that floating floors need. Baseboards take more abuse than any other trim, and they're often replaced right after a flooring installation.
3. Just below the ceiling: crown and cove
Crown moulding bridges the wall and ceiling at an angle, adding shadow lines and a sense of height. Simpler cove profiles suit more casual rooms. Crown can also finish the tops of kitchen cabinets for a built-in look.
4. On the walls: wall mouldings
Wall applications are the most decorative. Chair rail, picture-frame moulding boxes that create the look of raised panels, wainscoting and board-and-batten all add depth to a plain wall. If you want a fuller wood-wall look, see our shiplap and wood paneling service.
What good trim does for your home
- Ties walls, floors and ceilings together into a cohesive look
- Protects the lower walls from furniture, vacuums and everyday knocks
- Hides the uneven edges where drywall, flooring and ceilings meet
- Adds character and style to rooms that feel plain
Choosing materials
| Material | Strengths | Watch out for |
|---|---|---|
| MDF | Smooth, stable, affordable, paints beautifully | Swells if edges get wet |
| Finger-jointed pine | Real wood, holds nails well, paint-grade | Joints can show if poorly finished |
| Solid hardwood | Stain-grade, very durable | Higher cost, moves with humidity |
| PVC | Waterproof, won't rot or swell | Needs proper adhesive and fastening |
| Polyurethane mouldings | Lightweight, ornate profiles | Mostly used for crown and decorative pieces |
In humid Gulf Coast homes, we steer wet areas toward PVC and keep MDF in rooms that stay dry.
Choosing baseboard height and profile
Proportion matters more than any single number. Taller baseboards suit rooms with higher ceilings, while a very tall base can overwhelm a small room with standard ceilings. Keep casing and baseboard in the same family: a chunky craftsman casing looks odd beside a thin, rounded base. Simple square-edge profiles suit modern and coastal homes, and stepped or ogee profiles suit traditional rooms. Holding a few sample pieces against the wall before you choose is the easiest way to judge.
How we install trim
1. Measuring and planning
We measure each wall and opening and plan where joints will fall, keeping seams away from the first thing you see when you enter a room.
2. Fastening into Florida construction
Many homes here have concrete block exterior walls finished with drywall over furring strips. Trim on those walls has to be fastened into the furring or anchored appropriately, not just tacked into drywall. We locate framing first so baseboards and casings stay tight.
3. Cutting the joints
Inside corners on baseboard and crown are usually coped, meaning one piece is shaped to the profile of the other, rather than simply mitered. A coped joint stays tight as the house shifts through seasons, where a miter tends to open up. Long runs get angled scarf joints that blend in.
4. Filling, caulking and painting
Nail holes are filled and sanded, and joints along walls are caulked so the trim sits as a single clean line. Then the trim gets its finish coats. Our painting team can refresh walls and trim together so everything matches.
Tip: Choose a semi-gloss or gloss enamel for baseboards and door casings. A harder, shinier finish wipes clean easily and resists scuffs better than flat or eggshell paint.
What affects the cost
Trim is priced after we measure. The main factors:
- Linear footage and the number of rooms.
- Profile and material: taller and more detailed profiles, hardwood and PVC cost more than basic MDF.
- Corners and openings: every inside corner, outside corner and door or window adds cuts.
- Crown and wall mouldings: ceiling work and panel layouts take more time than baseboard.
- Removal and repair: pulling old trim and patching the wall behind it.
- Painting: whether trim is primed only or fully painted.
Our guide on what drives remodeling costs explains how scope and materials shape any project.
Trim in kitchens and bathrooms
In a kitchen remodel, trim finishes cabinet tops, light rails, toe-kicks and the transitions to new flooring. In bathrooms, trim around vanities, doors and floors needs to tolerate moisture, which is another reason material choice matters. If your project is part of bathroom remodeling, we fold the trim into the larger plan.
Keeping trim in good shape
- Dust regularly and clean with a gentle cleanser so grime doesn't dull the finish.
- Watch for cracks, warping, swelling or rot, especially near doors to the outside and in damp rooms, and address them promptly.
- Touch up paint or varnish periodically to protect the material from moisture and wear.
- Keep indoor humidity steady with ventilation and air conditioning to prevent swelling and mold.
Trim work throughout the region
We install trim and moulding throughout Manatee, Sarasota and Charlotte counties and south Hillsborough County, from Bradenton and Palmetto to Venice, Rotonda West and Sun City Center. See our service area for the full list.
What Clients Say
“These guys are awesome they've worked at both my houses and they've also taken care of my parents home as well. These are the only ones I would refer to anyone”
— Wedding Stuff
“Shawn is a great leader who runs a qualified team of hard working individuals who know there stuff. Had done work for me multiple times and over exceeds my expectations everytime”
— Christopher Grieco
Trim & Moulding Across the Suncoast
We serve homeowners and property owners in these counties and communities:
Learn More Before You Start
Trim & Moulding FAQs
Can you match the trim already in my house?
Can you install crown moulding on my ceilings?
Should I replace baseboards when I get new floors?
What trim material should I use in a bathroom or laundry room?
Keep Exploring
-
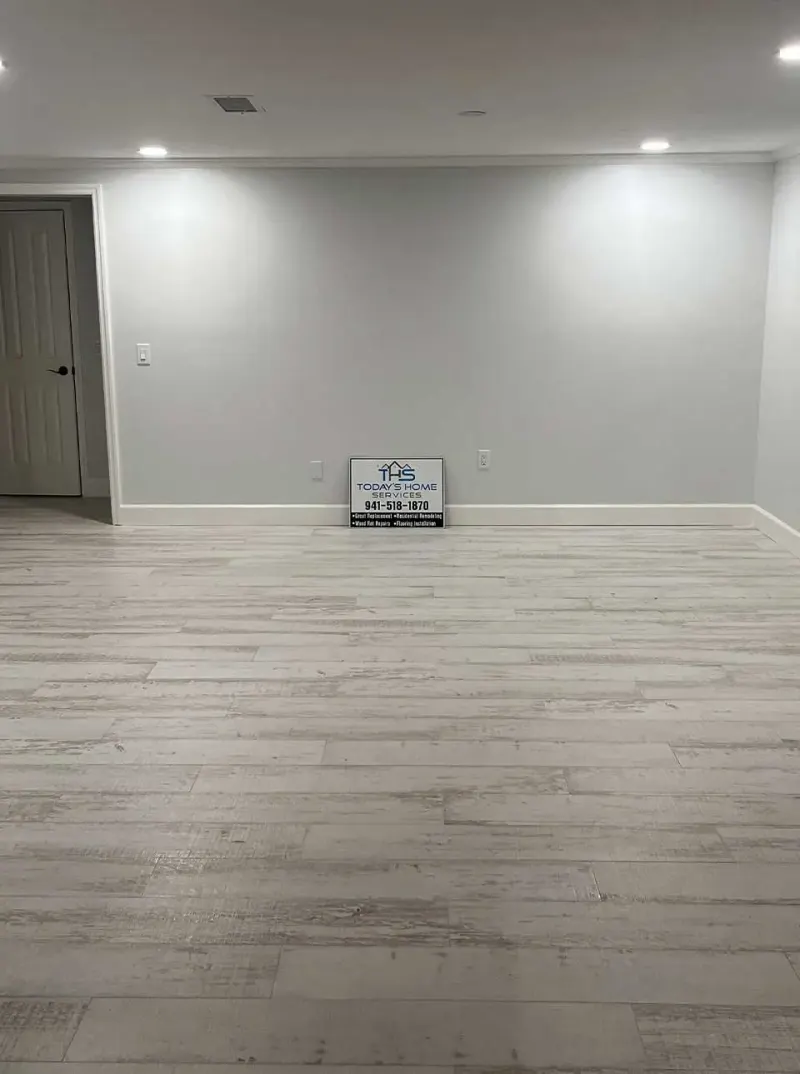
Flooring Installation
Tile, luxury vinyl plank, wood or epoxy: each one shines in some rooms and struggles in others. We help you match the floor to the room,…
-
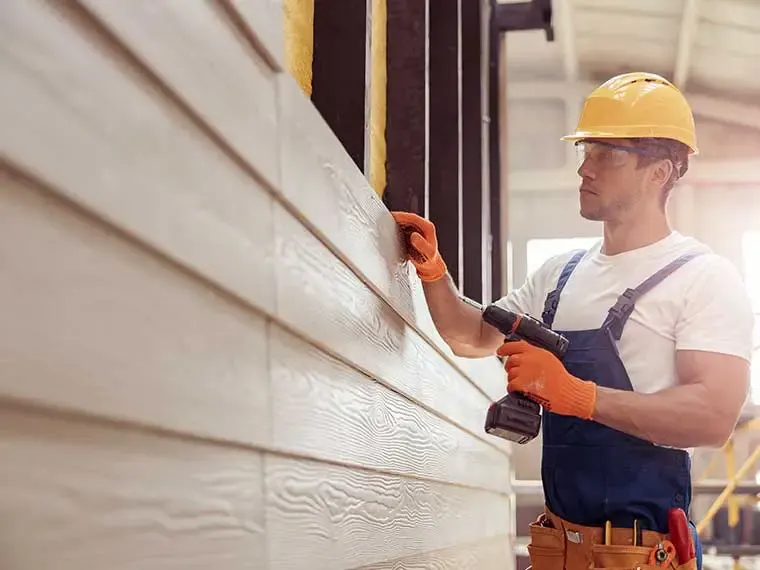
Shiplap and Wood Paneling Installation
Tired of patching dings and repainting scuffed drywall? Shiplap, tongue-and-groove and other wood paneling add texture and character to walls and ceilings, and they hold up…
-
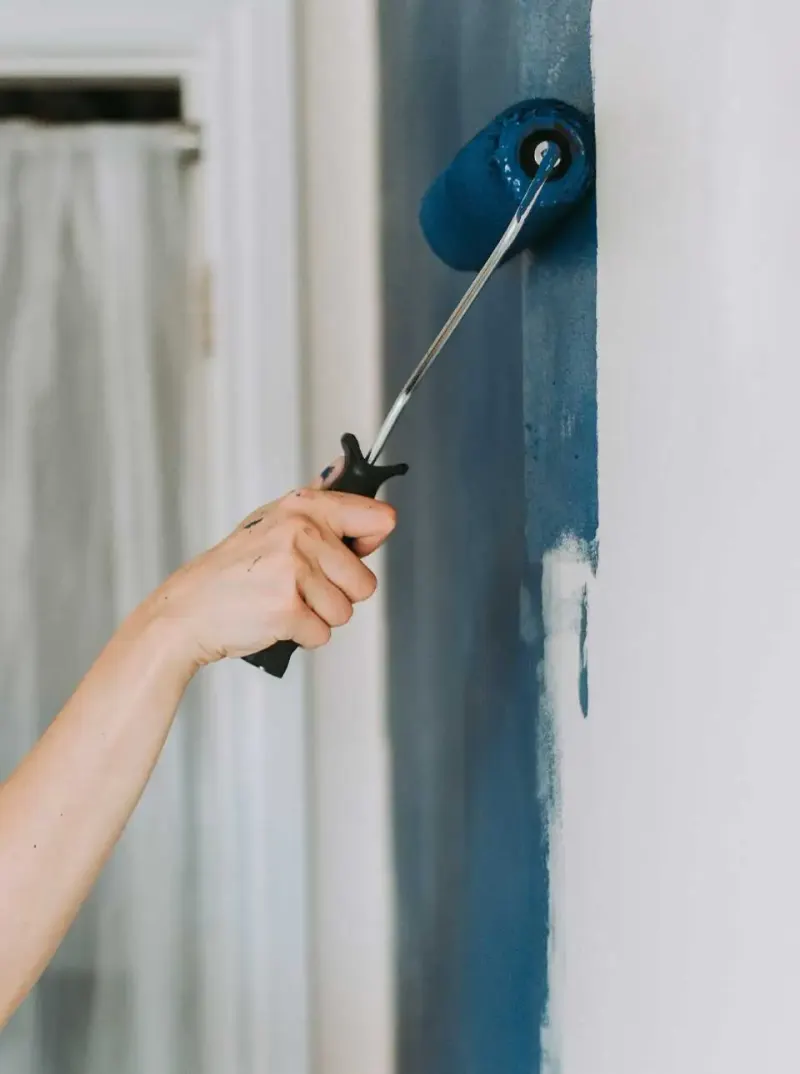
Interior and Exterior Painting
A good paint job is mostly preparation: protecting your belongings, repairing surfaces, priming where needed and choosing a paint that suits the room or the weather.…
-
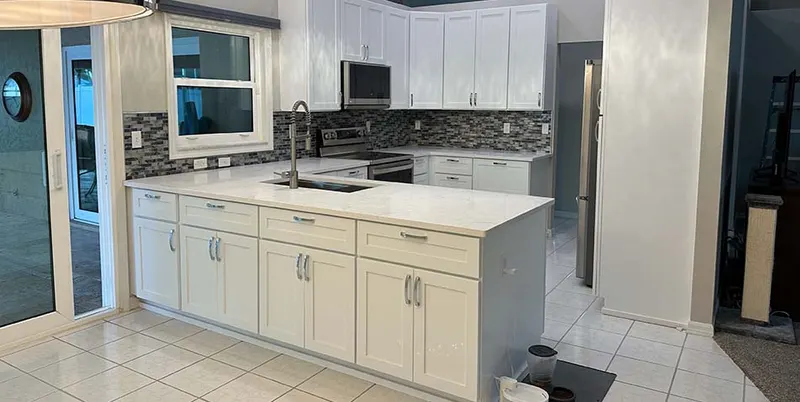
Kitchen Remodeling
From swapping tired cabinets and counters to reworking the whole room, we plan your kitchen around how you actually cook, store and gather, then build it…
-
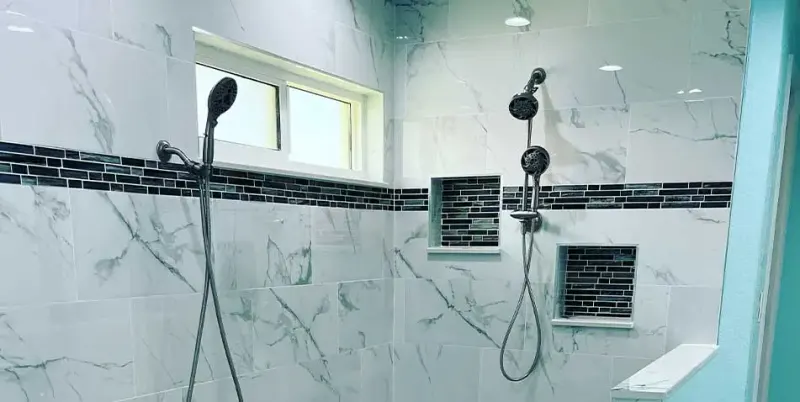
Bathroom Remodeling in Bradenton, Sarasota & the Suncoast
From a tired hall bath to a complete primary-suite rebuild, we plan, demo, waterproof, tile and finish bathrooms across Manatee, Sarasota, Charlotte and south Hillsborough counties,…
-

Areas We Serve Along the Suncoast
From our home base in Bradenton, our crew works across four counties, from the South Shore of Hillsborough down to Punta Gorda. Find your city below,…