


The short answer
Loose or hollow tile, grout that stays dark long after a shower, peeling paint or a swollen baseboard on the other side of the wall, and a lingering musty smell are the usual signs. Two or three together mean the wall should be opened so the source can be found, everything dried and the shower rebuilt with proper waterproofing.
Key takeaways
- You rarely see the water itself; you see stains, swelling, smells and loose tile it leaves behind.
- A leak that shows up whether or not the shower is running points to the valve or supply lines.
- Everything must be dry before the wall is closed, or the problem is sealed inside.
It's one of the easiest bathroom problems to miss, because the evidence is usually a little off rather than obviously wrong. This answer walks through the warning signs, the usual causes and what to expect once the investigation starts.
How do you know if there's water damage behind your shower?
You rarely see the water itself. You see what it does over time.
Inside the shower
- Loose or hollow-sounding tile, especially low on the walls or near the valve
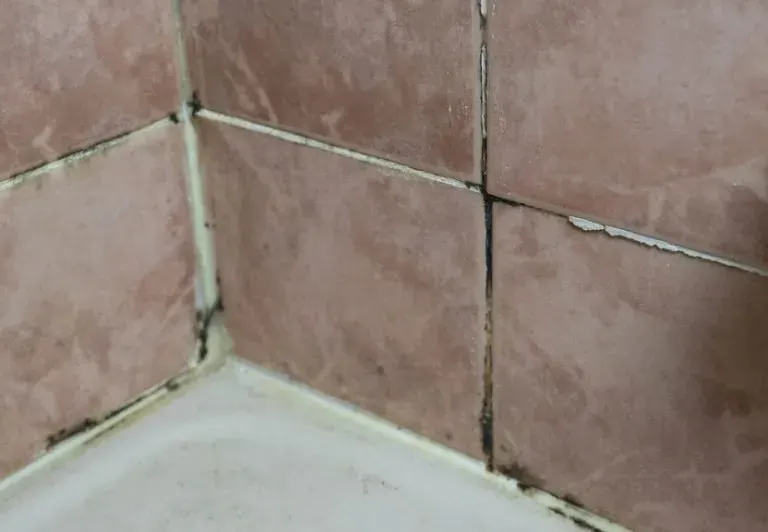
- Cracked, crumbling or missing grout
- Grout that stays dark or damp long after the shower is dry
- Failed caulk at the tub or pan joint, the corners or around the valve trim
- Black spots in grout that come back no matter how often you clean
- Tile that flexes when you press on it
Outside the shower
- Bubbling or peeling paint on the wall opposite the shower, often in a closet or bedroom
- Stained or swollen baseboard next to the shower or tub
- Soft or spongy floor right outside the shower entry
- A musty smell that lingers even when the bathroom is clean
- Discolored ceiling below, if the bathroom is on a second floor
- Termite or ant activity near the bathroom, since damp wood attracts insects
None of these alone proves a leak, but two or three together are a strong signal.
The usual causes
The mechanics of failure are covered in depth elsewhere, so here's the short list:
- No real waterproofing. Grout is porous, and a shower built over drywall or with gaps in the membrane soaks the wall a little every day. See why shower tile fails and why waterproofing matters more than tile.
- A failed pan or curb that holds water and wicks it into the walls.
- Valve and supply leaks that wet the wall constantly, not just during showers.
- Failed caulk where the tub meets the wall or glass meets tile.
- Florida humidity, which keeps a damp wall from ever fully drying; see why bathrooms get mold in Florida.
What to do before we arrive
If you've just spotted the signs, a few steps help:
- Limit use of that shower until it's been looked at.
- Photograph what you see, inside and outside the shower, with dates.
- Check the room behind the wall. Look inside a closet or the adjoining room for stains, swelling or a musty smell.
- Note when symptoms show up. Only during and after showers, or all the time? That helps separate a tile problem from a supply leak.
- Call your insurer if damage looks extensive or has spread beyond the bathroom.
What happens next
If you suspect water damage, here's how the process typically unfolds.
Step 1: Assessment
We look at the shower, tap the tile, check the adjacent walls and floor, and ask how long you have noticed the symptoms. Sometimes the problem is limited to failed grout and caulk that can be addressed with regrouting. More often, if tile is loose or walls outside the shower are affected, the damage is behind the surface.
Step 2: Opening the wall
Opening the wall is the only way to see the extent of damage; tile and backer have to come off. In many cases, the full surround needs to come out, because damaged material rarely stops neatly at one tile.
Step 3: Finding the source
With the wall open, the cause is usually obvious: drywall turned to mush, a missing membrane, a valve drip, a failed pan. Identifying it precisely matters, because the repair has to address the cause, not just the damage.
Step 4: Removing damaged material
Wet backer board, rotted framing, moldy drywall and insulation are removed. Sound framing that's only damp can often be dried and left in place; rotted framing is replaced or reinforced.
Step 5: Drying
Everything must be dry before rebuilding. Closing a wall over damp framing traps the problem inside. Depending on the extent of the damage, drying may take some time. If water has spread beyond the bathroom, a specialized water damage restoration company may be needed.
Step 6: Rebuilding properly
The new shower goes back with cement board or foam board, a continuous waterproofing membrane on walls and pan, correct slope to the drain and new tile. This is where a shower pan and waterproofing system earns its keep.
Tip: When the wall is open, take photos. They document the damage for insurance, help you understand the repair and give a future buyer confidence that the work was done right.
Why it shouldn't wait
Water behind a shower doesn't stay put. It moves into the framing, the bottom plate and the subfloor or slab edge. The longer it goes, the more material has to come out and the more chance of mold. A small, early repair is almost always simpler than a large, late one.
Turning a repair into an upgrade
Since the shower is coming apart anyway, many homeowners use the opportunity to change the design: a larger niche, a bench, a handheld, glass instead of a curtain, or a full tub-to-shower conversion. Our shower remodeling service handles both the repair and the redesign in one project, and our explainer on shower waterproofing systems shows what goes behind the new tile.
If you're seeing any of the signs above, we'll take a look and tell you whether it's a grout fix or something deeper. The visit and estimate are free.
More Questions Articles
Frequently Asked Questions
Can water damage behind a shower wall be fixed without removing tile?
Will homeowners insurance cover water damage behind a shower?
Is mold behind a shower wall dangerous?
How do I know if the leak is from the valve or the shower walls?
Can I keep using the shower until it's repaired?
Keep Exploring
-
 Bathroom Service
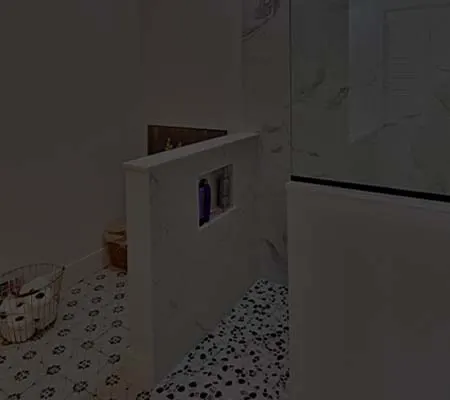
Shower Pan Replacement and Waterproofing
Tile and grout are the part of a shower you see, but they aren't what keeps water in. That job belongs to the pan and the…
-
 Bathroom Service
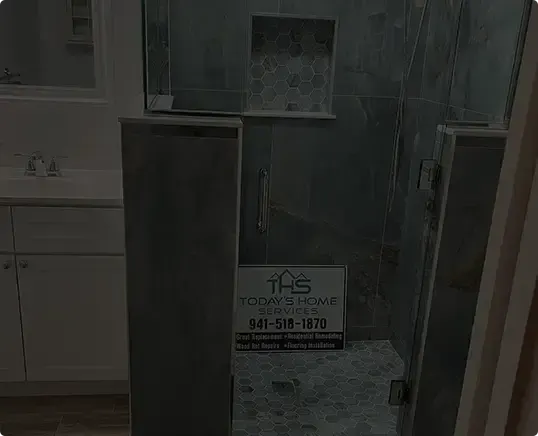
Shower Remodeling
When a shower leaks, cracks or just looks worn out, a surface fix rarely lasts. We take it back to the framing and rebuild every layer:…
-
 Why
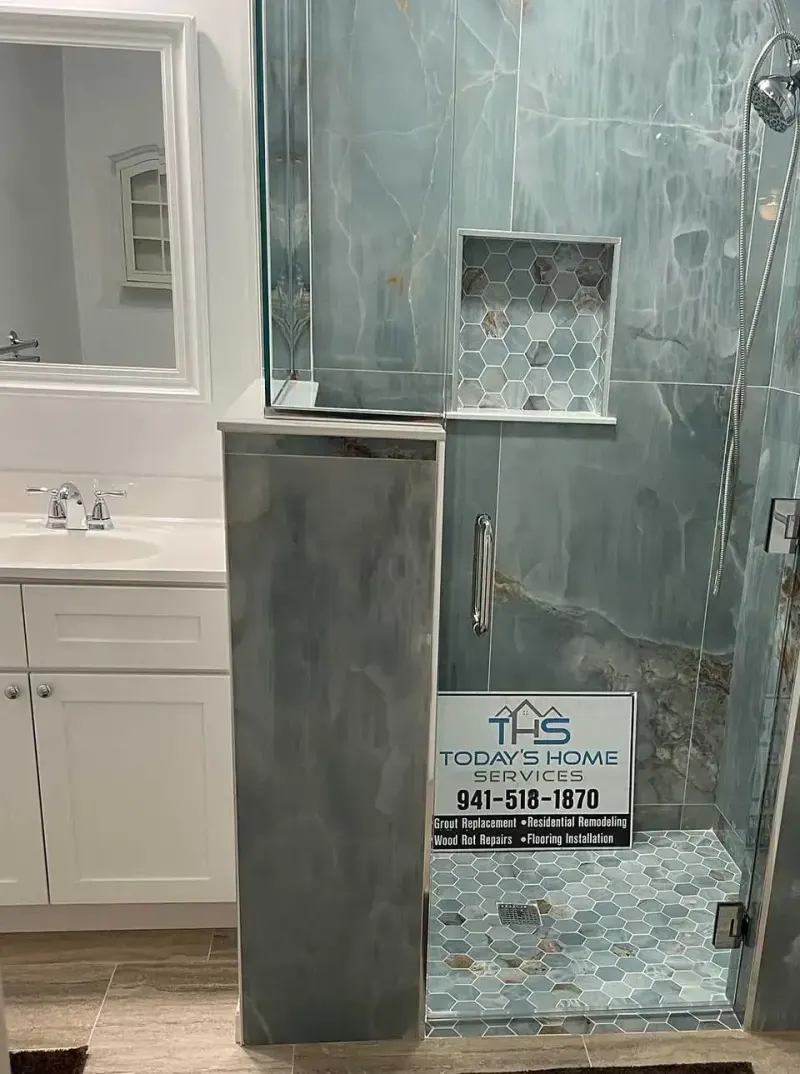
Why Shower Tile Fails (and What It Tells You)
Shower tile rarely fails because the tile itself was bad. It fails because of what's behind and beneath it: the bond, the backer, the pan and…
-
 Why
Why Bathrooms Get Mold in Florida
Mold needs moisture, a surface to feed on and time. A Florida bathroom supplies all three generously, and a few common building shortcuts make it far…
-
 Understanding
Shower Waterproofing Systems: How Each One Works
Tile and grout are not waterproof. What keeps water out of your walls and subfloor is the layer underneath, and there are three main ways to…
-
Tile and Grout Cleaning
Dingy grout lines make even good tile look tired. We assess your floors, showers and backsplashes, clean them with methods matched to the material, seal what…