


The short answer
Make every selection before work starts, empty the bathroom and the path to it, set up a backup for showers and toilet use, and agree with your contractor on access, parking and how you'll get updates. Condo owners should also have association approval and insurance paperwork in hand before the start date.
Key takeaways
- Finalized selections and long-lead items on hand do more for the schedule than anything else you can prepare.
- Clear the route from the door to the bathroom, and take pictures off walls that share a wall with it.
- Review niche placement, valve height and tile layout before setting starts; moving them later isn't a small change.
Preparation makes the difference between a project that flows and one that stalls, and most of it is decisions rather than boxes. Make every selection before work starts, and the rest of this checklist gets much easier.
The short version
Print this or keep it on your phone. The sections below explain each item.
- Every finish selected, including grout color and fixture finish
- Long-lead items ordered and their delivery dates confirmed
- Condo or HOA approval in hand, and permit responsibility confirmed
- Bathroom emptied: cabinets, shelves, walls and floor
- Path from the door to the bathroom cleared and protected
- Backup bathroom or shower plan set
- Pets' daytime spot decided
- Parking space for the work vehicle cleared
- Water shutoff and electrical panel accessible
- Entry, gate code and alarm plan agreed with the crew lead
The rest of the checklist is arranged by when each task matters. Use as much or as little of it as your project needs.
Several weeks before
Lock in your design
This is the most valuable preparation you can do. Decide on:
- tile for floor, walls and any accent, including grout color
- vanity size, finish and top material
- faucet, shower valve trim and finish
- toilet style and height
- glass style, if any
- lighting and fan
- niche location and size, bench, grab bar positions
The design is easier to finalize with references. Our Ideas section is a good place to collect them.
Order long-lead items
Ask your contractor which pieces are special order. Getting those in early prevents the crew from pausing mid-project. Some items, like frameless glass, are measured after tile and can't be ordered ahead, so plan for that gap.
Handle approvals
If you live in a condo or an HOA community, submit any required paperwork now. Associations often need a description of the work, contractor insurance certificates and agreed work hours. Our condo bathroom guide lists what to expect. Your contractor should also confirm whether a building permit is required.
Know who buys what
Before work starts, agree in writing on which items you're buying and which your contractor supplies.
- Finish selections such as tile, the vanity, faucets, light fixtures and mirrors may be bought by you or by the contractor against an allowance. Either way, confirm who orders them and when.
- Rough materials like backer board, waterproofing, setting materials, pipe, fittings and wiring are normally supplied by the contractor, since they're tied to how the work is built and warranted by the manufacturers.
- Deliveries need a plan: who receives them, where they're stored, and who checks boxes for damage or the wrong item before demolition day.
Ask the right questions
If you haven't hired yet, our list of questions to ask a bathroom remodeler will help you compare options.
The week before
Empty the room completely
Remove everything from cabinets, drawers, shelves and the medicine cabinet. Take down towel bars you want to keep, artwork, rugs, shower caddies and curtains. Anything left behind risks dust or damage.
Clear the path
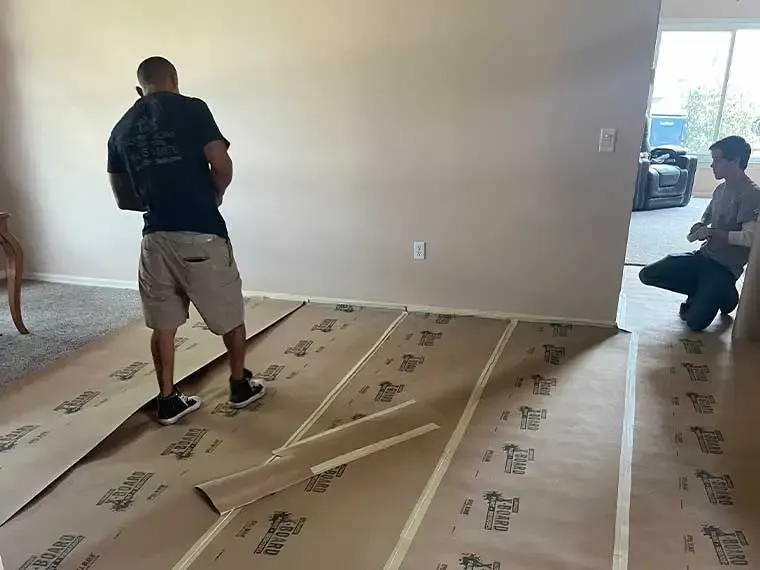
The crew will carry out old tile and fixtures and carry in heavy materials. Move furniture, rugs and fragile decor along the route from the door to the bathroom. Take pictures off hallway walls that share a wall with the bathroom; demolition vibration can knock them down.
Set up your backup bathroom
Move toiletries, towels and daily items to the bathroom you'll be using. If it's your only bathroom, finalize your plan now. See can I use my bathroom during a remodel? for practical options.
Plan for pets
Decide where pets will stay during work hours. Open doors, tools and noise are a bad mix for curious dogs and cats.
Protect what's nearby
If a bedroom closet shares a wall with the shower, empty it or cover the contents. Demolition dust is fine and travels farther than people expect.
The day before
- Confirm the start time and parking. Leave the driveway or a space near the door clear for the work vehicle and material delivery.
- Locate the main water shutoff and the electrical panel, and make sure both are accessible.
- Unlock gates and agree on how the alarm will be handled each day.
- Take photos of the existing bathroom. They're useful for reference and for remembering where things were.
- Run the last load of laundry if the laundry shares plumbing that may be shut off briefly.
Tip: Hand the lead a card with the gate code, Wi-Fi password if needed and your phone number, and agree on how keys or lockbox access will work. It saves calls on the first morning.
Day one
Be there at the start if you can. Walk through the plan once more with the lead: what's coming out, what stays, where materials will be stored and how dust will be contained. Point out anything fragile in adjacent rooms. This is also the moment to confirm how you prefer to get updates.
During the project
Stay reachable
Questions come up, especially after demolition when the walls are open. Quick answers keep the job moving. If damage is found, you'll want to see it in person and understand the options before approving a change.
Check layout before tile goes up
Ask to review niche placement, valve height, grab bar blocking and tile layout before setting starts. Moving a niche after tile is up isn't a small change.
Keep the scope steady
Mid-project additions are possible, but each one ripples through the schedule. If you have an idea, raise it early and ask how it affects timing.
Respect cure times
Grout, thinset and waterproofing need time to cure. Don't use the shower or walk on new tile until you're told it's ready.
After the work is done
- Do a final walkthrough with the lead and note anything to touch up.
- Ask about grout sealing and cleaning products that are safe for your tile and fixtures; professional tile and grout cleaning can reseal it down the road.
- Run the exhaust fan during every shower and, as a common recommendation, for about 20 minutes afterward. Our guide to exhaust fan sizing explains timers and humidity controls that handle it for you.
- Keep paperwork for fixtures and materials together for future reference.
Our article on the bathroom remodel process explains what happens at each stage, and how long a bathroom remodel takes covers what shapes the schedule.
A prepared homeowner gets a better result
Preparation doesn't just save time. When every selection is made and the room is ready, the crew can focus fully on doing the work right, from the waterproofing to the last bead of caulk. If you're getting ready for a bathroom remodel, we're happy to walk through this checklist with you during your free estimate visit.
Preparation is also the best way to avoid the classic errors; our list of bathroom remodel mistakes to avoid covers the ones that cost the most to undo.
More Questions Articles
Frequently Asked Questions
How far in advance should I choose my tile and fixtures?
Do I need to be home while the work is happening?
Should I remove the old vanity or tile myself to save money?
What should I do with the old fixtures?
Keep Exploring
-
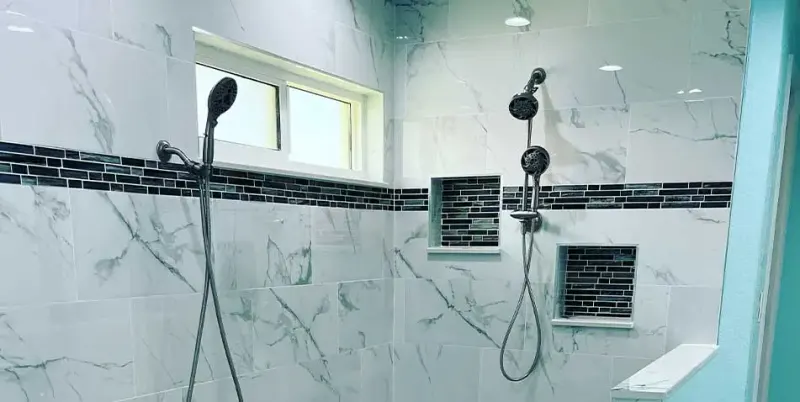
Bathroom Remodeling in Bradenton, Sarasota & the Suncoast
From a tired hall bath to a complete primary-suite rebuild, we plan, demo, waterproof, tile and finish bathrooms across Manatee, Sarasota, Charlotte and south Hillsborough counties,…
-
 Questions
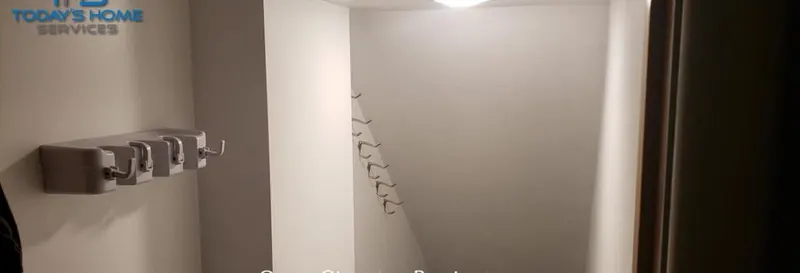
Can I Use My Bathroom During a Remodel?
For most of a real remodel, the room is a job site, not a bathroom. The good news is that with planning, even a one-bathroom home…
-
 Questions
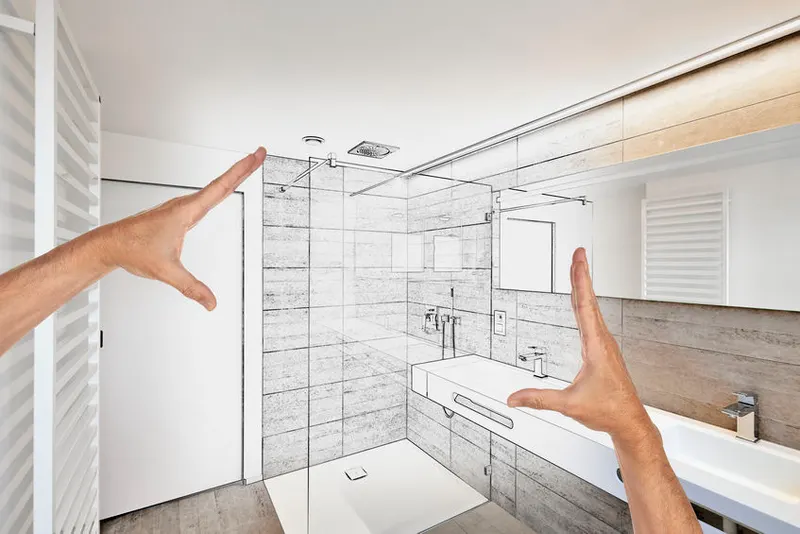
 to Ask a Bathroom Remodeler
The best questions focus on what you can't see in photos: how the shower will be waterproofed, how surprises are handled, who is on site and…
-
 Understanding
The Bathroom Remodel Process, Step by Step
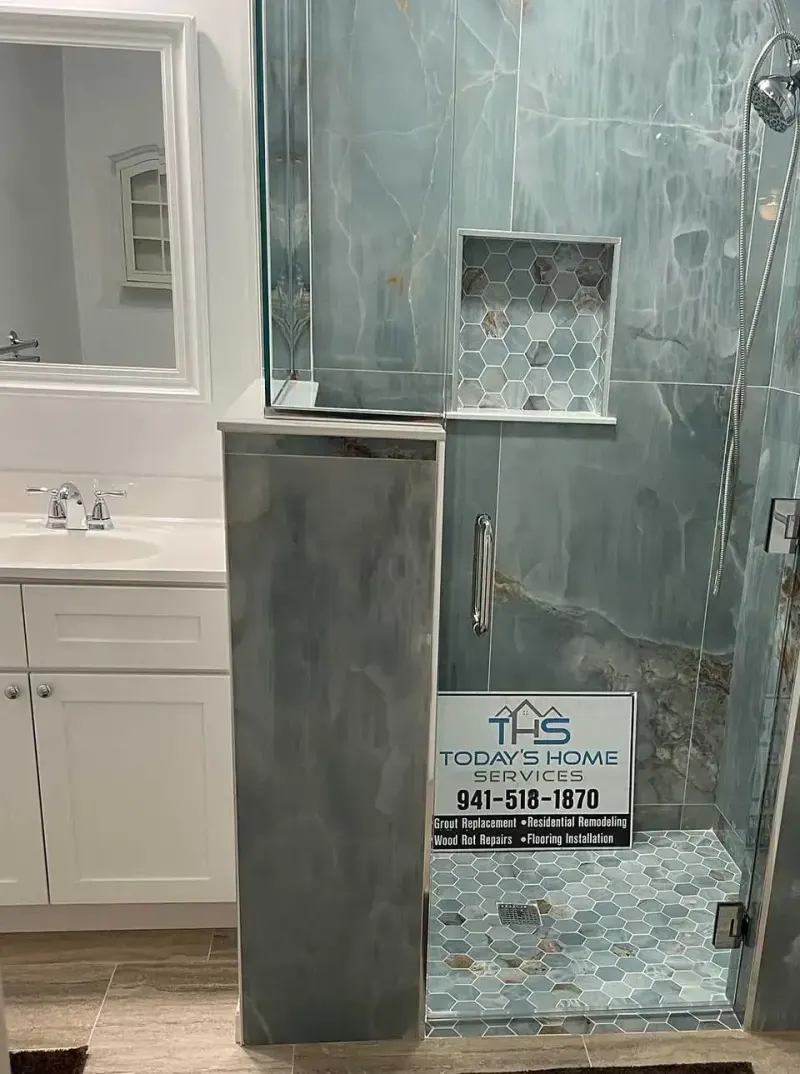
A full bathroom remodel moves through a predictable chain of phases, and each one depends on the last. Here's what happens at every stage, who handles…
-
 Questions
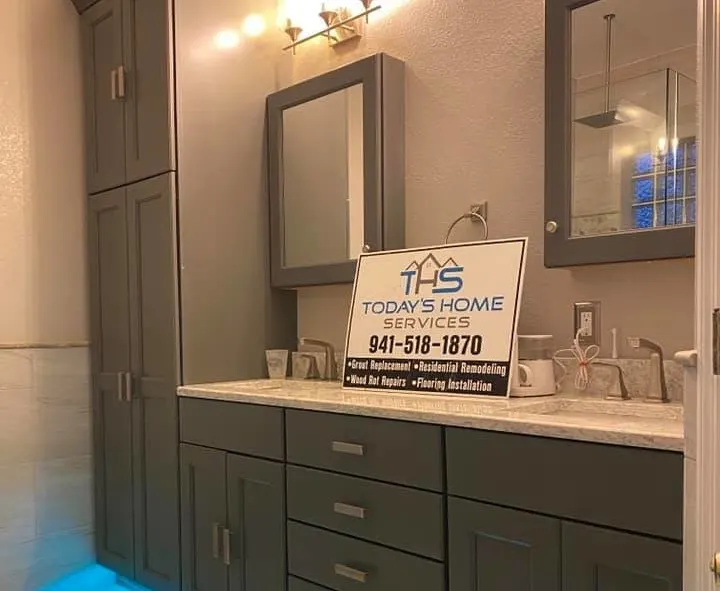
How Long Does a Bathroom Remodel Take?
Scope sets the clock. A fixture swap can wrap up in days, while a gut remodel usually runs several weeks, and the details hidden behind your…