


A curbless shower looks like the simplest thing in the room: floor that just continues into the shower. Getting water to stay where it belongs without a curb is anything but simple, and it starts below the floor.
Key takeaways
- A shower floor needs about 1/4 inch per foot of slope, and without a curb that height has to come from recessing the floor or raising the room.
- On a slab, a curbless shower usually means saw-cutting and re-pouring concrete in the shower area.
- A linear drain lets the floor slope in one plane, which makes a flush entry and large tile much easier.
- Drain type, slope direction, glass and the extent of waterproofing all have to be settled before demolition.
The appeal is obvious. No step to trip over, a clean continuous floor, easy access for a wheelchair or walker, and a look that makes even a modest bathroom feel bigger. But a curbless shower asks more of the floor than a standard one does: the curb you're eliminating was doing a job. It held water in and gave the shower floor room to slope. Without it, the slope has to come from somewhere else, and in most Florida homes that somewhere is inside the concrete slab.
The core problem: slope needs height
A shower floor is typically sloped about 1/4 inch per foot toward the drain so water doesn't puddle. Add the thickness of the waterproofing, mortar and tile, and a traditional shower floor sits noticeably higher at its edges than the drain. In a conventional shower, the curb hides that difference.
In a curbless shower, the edge of the shower floor at the entry has to meet the bathroom floor at the same height, or very nearly. That leaves two choices: lower the shower area so its slope starts at the bathroom floor level and drops from there, or raise the rest of the bathroom so it meets the high edge of the shower floor.
Option 1: recess the slab
On a slab-on-grade home, the common approach is to cut out the concrete in the shower area and lower it, creating a recess. The sloped shower floor, waterproofing and tile then fit within that recess so the top edge aligns with the bathroom floor.
That work involves:
- Saw-cutting and removing concrete, then excavating and re-pouring at the lower elevation
- Relocating or resetting the drain, which typically means trenching for the drain line anyway
- Paying attention to anything inside or under the slab, such as plumbing, and to the slab's thickness and any moisture barrier, which a qualified contractor checks before cutting
It's well-understood work, but it adds steps, debris, cure time and inspection points. Our article on bathroom plumbing on a slab explains more about what cutting and trenching involves.
On wood-framed floors, the equivalent is lowering the subfloor between joists or modifying framing, which isn't always possible depending on joist size and direction. That's one reason curbless showers are often easier on a slab than on a second story.
Option 2: build up the bathroom floor
The alternative is to leave the shower at its normal height and raise the rest of the bathroom floor to meet it. That avoids cutting the slab, but it creates a new transition at the bathroom door, where the raised floor meets the hallway or bedroom. The vanity, toilet flange and door all have to be adjusted for the new height. In some homes this is a sensible trade; in others, it just moves the trip hazard to the doorway.
Why linear drains are so common here
A standard center drain needs the floor to slope toward it from all four sides, forming a shallow funnel. That's hard to blend with a flat bathroom floor at the entry, because one of the funnel's edges is the opening itself.
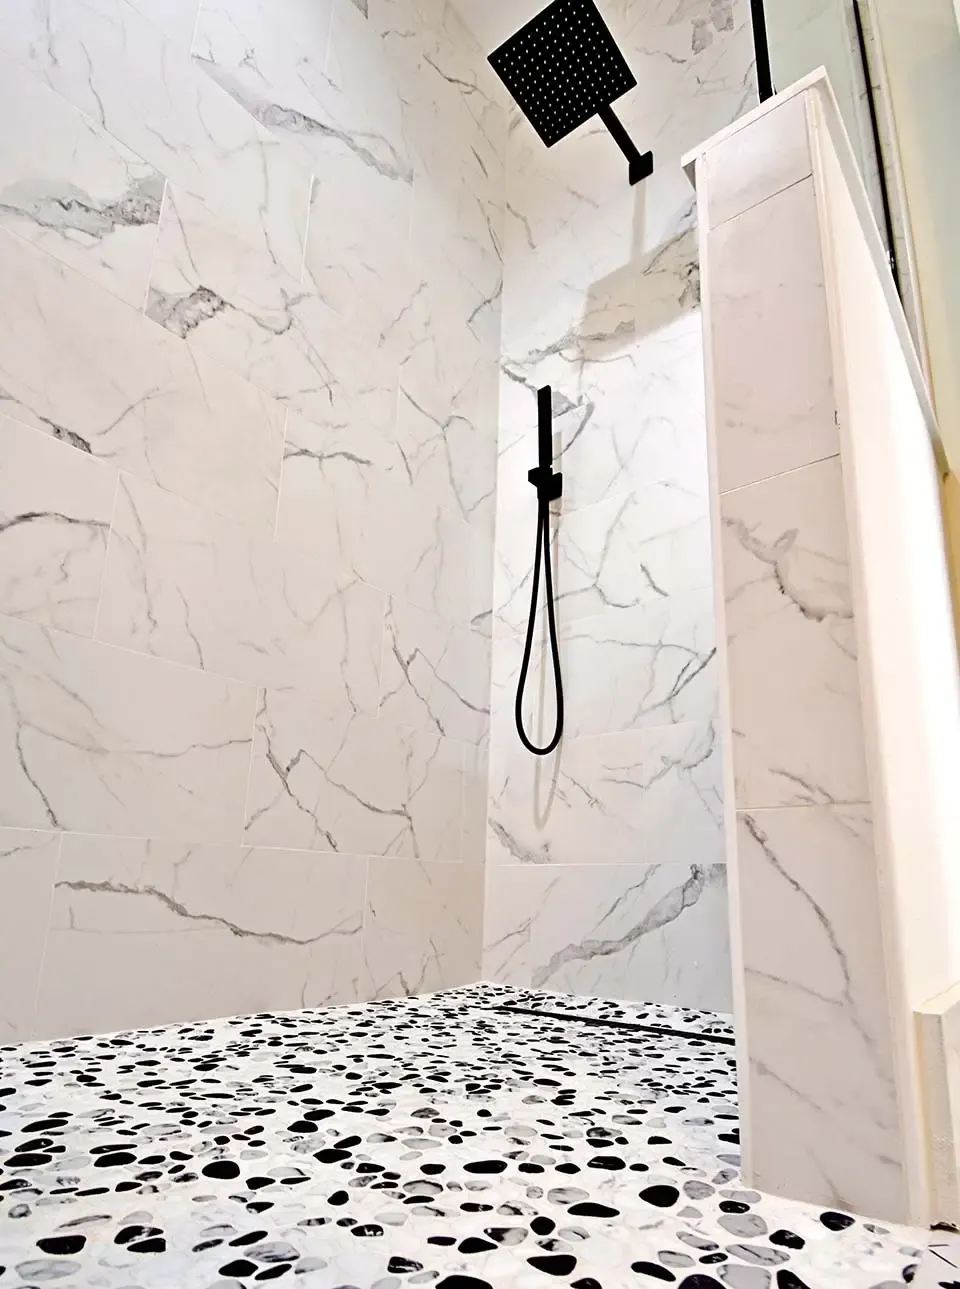
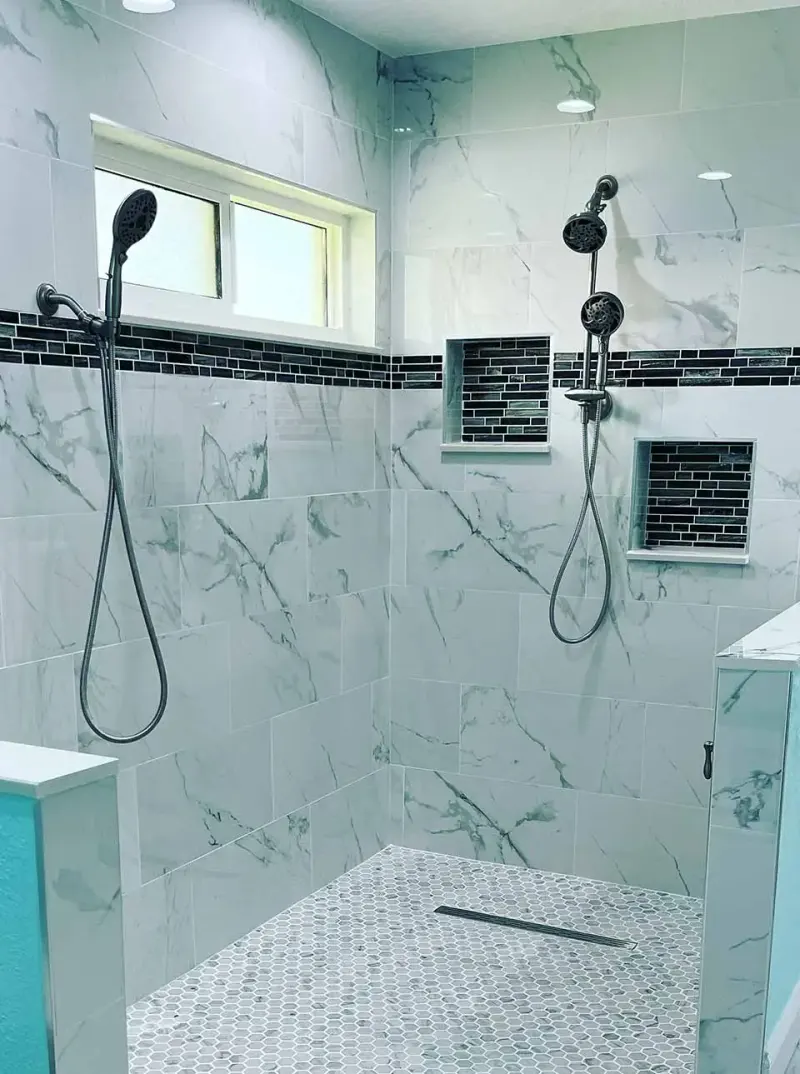
A linear drain is a long, narrow trough, usually placed along the back wall or across the entry. With a linear drain, the entire shower floor can slope in one direction, a single flat plane. That has several advantages for curbless designs:
| Center drain | Linear drain | |
|---|---|---|
| Floor slope | Four directions toward the center | One direction toward the drain |
| Tile options | Smaller tile handles the funnel shape best | Large-format tile works well on a single plane |
| Entry transition | Harder to keep flush | Easier to keep flush |
| Typical placement | Middle of the shower | Back wall or entry |
Placing a linear drain at the entry of the shower catches water right at the threshold, which adds a margin of safety. Placing it at the back wall keeps it out of sight and lets the floor slope away from the entry.
Keeping water in without a curb
Even with the right slope, a curbless shower needs thought about where water goes when it splashes. Things that help:
- Shower size. More distance between the spray and the opening means less water reaches the opening.
- Shower head placement. Aiming the main spray away from the entry, and positioning a handheld so it isn't pointed at the bathroom.
- Glass panels. A fixed glass panel that covers the spray zone, sized to the layout. Many curbless designs use a single panel rather than a door.
- Extended waterproofing. Carrying the membrane beyond the shower area onto the bathroom floor, so any water that escapes doesn't reach the subfloor or slab joints.
- Floor tile with good slip resistance both inside and just outside the shower.
Decide these before demolition
The point of planning early is that most of these choices depend on each other. Settle them as a set:
- Recess or build-up. Whether the shower area drops into the slab or framing, or the rest of the floor comes up.
- Drain type and location. Linear or center, and whether it sits at the back wall or the entry.
- Slope direction. Which way the floor falls, which follows from the drain choice.
- Glass layout. Fixed panel or door, its length and where it stops relative to the spray.
- How far the waterproofing extends. Just the shower, a margin beyond it or the whole bathroom floor.
- Floor tile. Size, and slip resistance for wet bare feet inside and outside the shower.
- Accessibility details. If a wheelchair needs to turn, a 60-inch turning circle; and solid blocking in the walls wherever grab bars or a fold-down seat might go.
Why this is worth it
None of this is a reason not to build a curbless shower. For homeowners planning to age in place, it's one of the most meaningful upgrades a bathroom can get, and our accessible bathrooms page goes into how it fits with grab bars, seating and turning space. The planning just has to happen early, before demolition, so the slab work, drain choice and glass design are all decided together rather than improvised.
If you're comparing options, see whether a walk-in shower is worth it and browse walk-in shower ideas for layouts. When you're ready, our walk-in shower team can look at your slab, your layout and your goals and give you a free estimate that spells out the prep a curbless design needs.
More Why Articles
Frequently Asked Questions
Can any bathroom have a curbless shower?
Do curbless showers leak onto the bathroom floor?
Is a linear drain required for a curbless shower?
Can you build a curbless shower on a second floor?
Keep Exploring
-
 Bathroom Service
Walk-In Shower Installation
A walk-in shower should be easy to enter, comfortable to stand in and simple to keep clean. We design and build curbed, low-threshold and curbless walk-in…
-
 Bathroom Service
Accessible & Aging-in-Place Bathroom Remodeling
Getting in and out of the shower and on and off the toilet are the moments that matter most. A well-planned accessible remodel makes them safer…
-
 Understanding
Bathroom Plumbing on a Concrete Slab
Most Gulf Coast homes have no crawl space or basement. The bathroom drains are buried in concrete, which shapes what a remodel can change and what…
-
 Questions
Is a Walk-In Shower Worth It?
For most adults who shower daily, especially anyone planning to stay in their home as they age, a well-built walk-in shower is worth it. It isn't…
-
 Ideas
Walk-In Shower Ideas, From Compact Baths to Primary Suites
A walk-in shower can fit a five-foot hall bath or fill half of a primary suite. These ideas are sorted by how much room you have,…