


Grout cracks for a reason, and the pattern of the cracks often tells you which one. Here's how to read what you're seeing and decide whether a repair, a regrout or something bigger is needed.
Key takeaways
- Scattered cracking and crumbling across a whole installation usually points to a poor grout mix or installation.
- Cracks that run neatly along corners or the tub line mean rigid grout was used where a flexible movement joint belongs.
- A straight crack crossing several tiles often comes from a slab crack or a moving floor underneath.
- New grout over a moving or wet substrate won't last, so the cause has to be fixed before the regrout.
Grout is rigid, and anything rigid will crack if it's asked to do something it wasn't designed to do. If you're wondering what causes grout to crack, the answer is rarely "it just got old." Grout cracks because it was mixed or installed poorly, because a joint that needed flexibility got rigid grout instead, or because the surface underneath is moving. The useful part is that each cause tends to leave a recognizable pattern. Learn to read it, and you'll know whether you're looking at a quick repair or something more serious.
Cause 1: The Grout Was Mixed or Installed Poorly
This is a very common cause. Grout is a recipe, and small deviations matter:
- Too much water in the mix. Extra water makes grout easier to spread but leaves it weaker and more porous as it dries. Overwatered grout can develop pinholes and shrink, and over time it softens, powders and cracks.
- Too much additive or the wrong additive. Liquid admixtures help when used as directed, but overdoing them can weaken the cure.
- Joints not packed full. If the grout float skims over the joint without forcing grout to the bottom, the result is a thin bridge over a hollow space that breaks easily.
- Too much water during cleanup. Sponging the surface too wet before the grout sets washes out cement and leaves a weak, sandy top layer.
- The wrong grout for the joint width. Unsanded grout in a wide joint is prone to shrinking and cracking. Sanded grout in a very narrow joint may not fill properly.
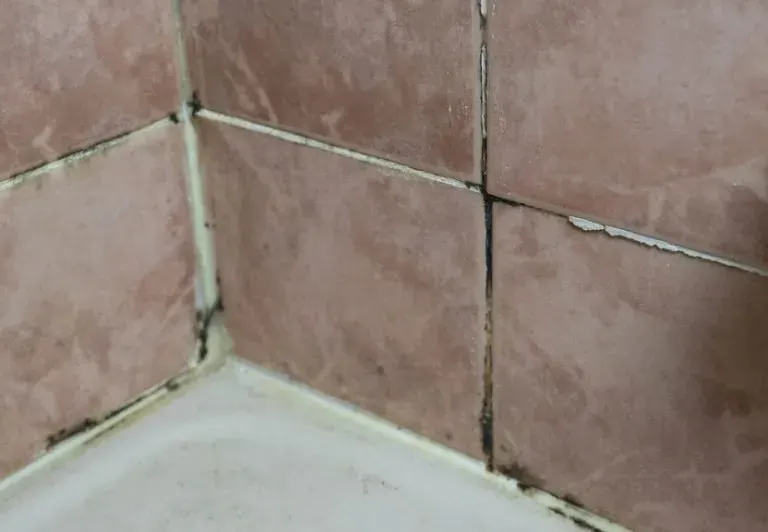
What it looks like: cracks, pits and crumbling scattered across the whole installation, often with grout that feels sandy or powdery when you drag a key along it.
Cause 2: Rigid Grout Where a Movement Joint Belongs
Tile assemblies move slightly with temperature and humidity. Industry guidance typically calls for soft, flexible movement joints at perimeters, inside corners and changes of plane, and at intervals across large floors, especially in sunny rooms and on lanais. When those joints are filled with grout instead of a flexible sealant, the grout takes the stress and fails.
What it looks like: cracks running neatly along an inside shower corner, along the line where wall tile meets the tub, or around the edge of a room. Sometimes tiles in the middle of a large floor begin to lift or "tent."
Cause 3: The Surface Underneath Is Moving
Grout can only be as stable as what's beneath it.
- Slab cracks. Florida homes are commonly built on concrete slabs, and slabs develop shrinkage cracks. If tile was laid over a crack without a crack-isolation membrane, the crack can telegraph up through the tile and grout.
- Floor deflection. Tile on a wood-framed floor, more common in upstairs rooms and some condos, needs a stiff enough structure. A bouncy floor flexes the grout every time someone walks across it.
- Poor mortar coverage. Tiles that weren't fully bedded in thinset have hollow spots underneath. They rock slightly under load, and the grout around them breaks.
What it looks like: a crack that runs in a fairly straight line across several tiles and joints, sometimes through the tiles themselves. Or a cluster of cracked joints around tiles that sound hollow when tapped.
Cause 4: Damage from Cleaning or Water
Repeated use of acidic cleaners dissolves the cement in grout over time, leaving it soft and prone to cracking and washing out. Persistent water, from a leaking valve, a failed shower pan or constant puddling, can weaken grout from below. Our article on why shower tile fails covers the water side of this in detail.
What it looks like: grout that's eroded and recessed rather than cleanly cracked, concentrated in the wettest areas, near the drain or under the shower head.
Reading the Pattern: A Quick Guide
| What you see | Likely cause | Usual fix |
|---|---|---|
| Scattered cracks and crumbling everywhere | Mix or installation problem | Full grout replacement |
| Cracks along corners or the tub line | Missing movement joints | Remove grout, install flexible sealant |
| A straight crack crossing many tiles | Slab crack telegraphing up | Re-tile with crack isolation |
| Cracks around hollow-sounding tiles | Poor mortar coverage | Reset tiles, then regrout |
| Eroded, sandy joints near water | Chemical or water damage | Regrout and investigate any leak |
Your Repair Options
Spot repair. If the damage is small and the cause is local, the cracked grout can be cut out and replaced with color-matched grout. Matching aged grout perfectly is hard, so patches may be slightly visible.
Full regrouting. When cracking is widespread but the tiles are sound and properly spaced, removing and replacing all the grout is often the most cost-effective path. The new grout is chosen for the tile, joint width and location. Our guide to grout types explains the options.
Re-tiling. When the cause is underneath, such as hollow tiles, a moving substrate or water damage, new grout won't last. Then it's time to talk about bathroom tile replacement done over a properly prepared surface.
Keep an Eye on It
Regular tile and grout cleaning won't stop cracks from forming, but it makes them much easier to spot early, while a fix is still small. If you're seeing cracks in Sarasota, Bradenton or anywhere nearby, we'd be happy to look at the pattern with you and give you a free estimate.
Frequently Asked Questions
Can I just put new grout over cracked grout?
Is cracked grout in a shower an emergency?
Can cracked grout cause a leak?
Will sealing grout prevent cracks?
Keep Exploring
-
 Blog
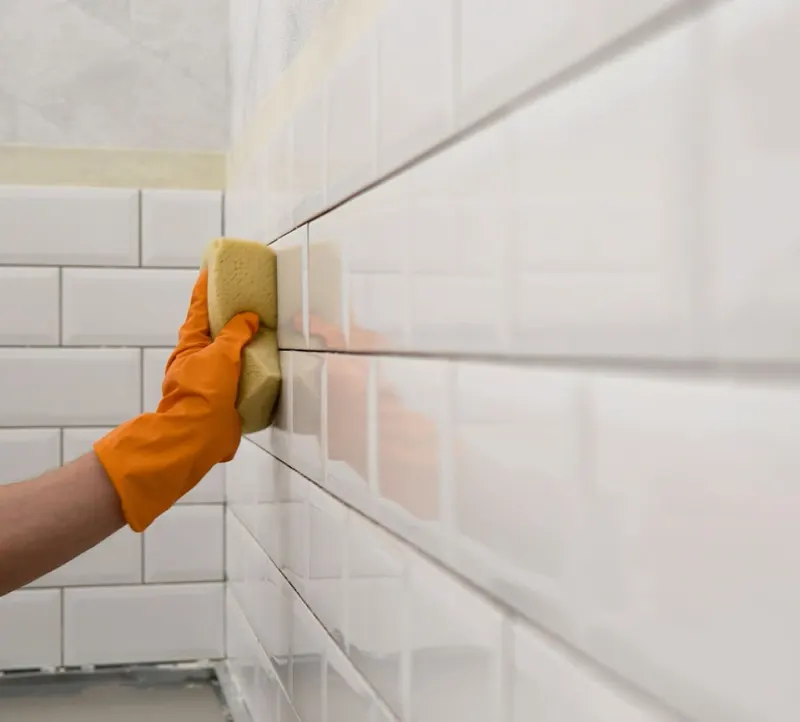
Grout Replacement and Regrouting
Sound tile surrounded by crumbling, stained or missing grout doesn't always need to be torn out. Here's how we remove old grout, choose the right replacement…
-
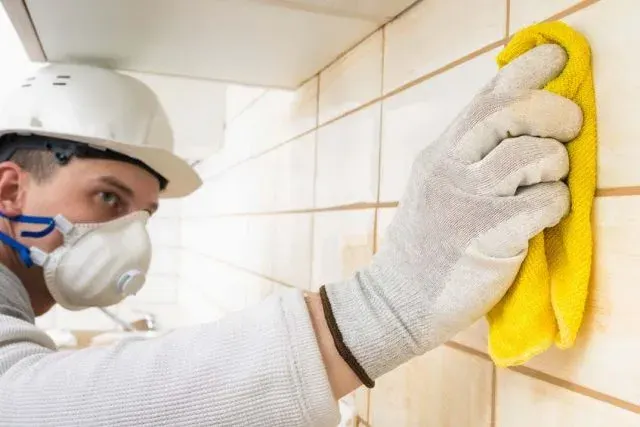
Tile and Grout Cleaning
Dingy grout lines make even good tile look tired. We assess your floors, showers and backsplashes, clean them with methods matched to the material, seal what…
-
 Why
Why Shower Tile Fails (and What It Tells You)
Shower tile rarely fails because the tile itself was bad. It fails because of what's behind and beneath it: the bond, the backer, the pan and…
-
 Bathroom Service
Bathroom Wall & Shower Tile Installation
Good tile looks effortless because the hard thinking happened before the first piece went up. We plan every wall, edge and niche so your shower and…
-
 Questions
Water Damage Behind Shower Walls: Signs and Next Steps
Loose tile, cracked or darkened grout, peeling paint on the other side of the wall and a musty smell are classic warning signs. Once you suspect…